
Hello everyone!!! Today I am sharing with you a mini album that I created that has multiple flip pages and pockets and can hold more than 50 pictures. Each page features a side pocket with an insert that you can add pictures to as well. It is a total of 8 pages plus the insides of the front and back covers can also be used for more pictures. The album cover has been covered in fabric. This one-of-a kind album is for sale.
Here is the album.

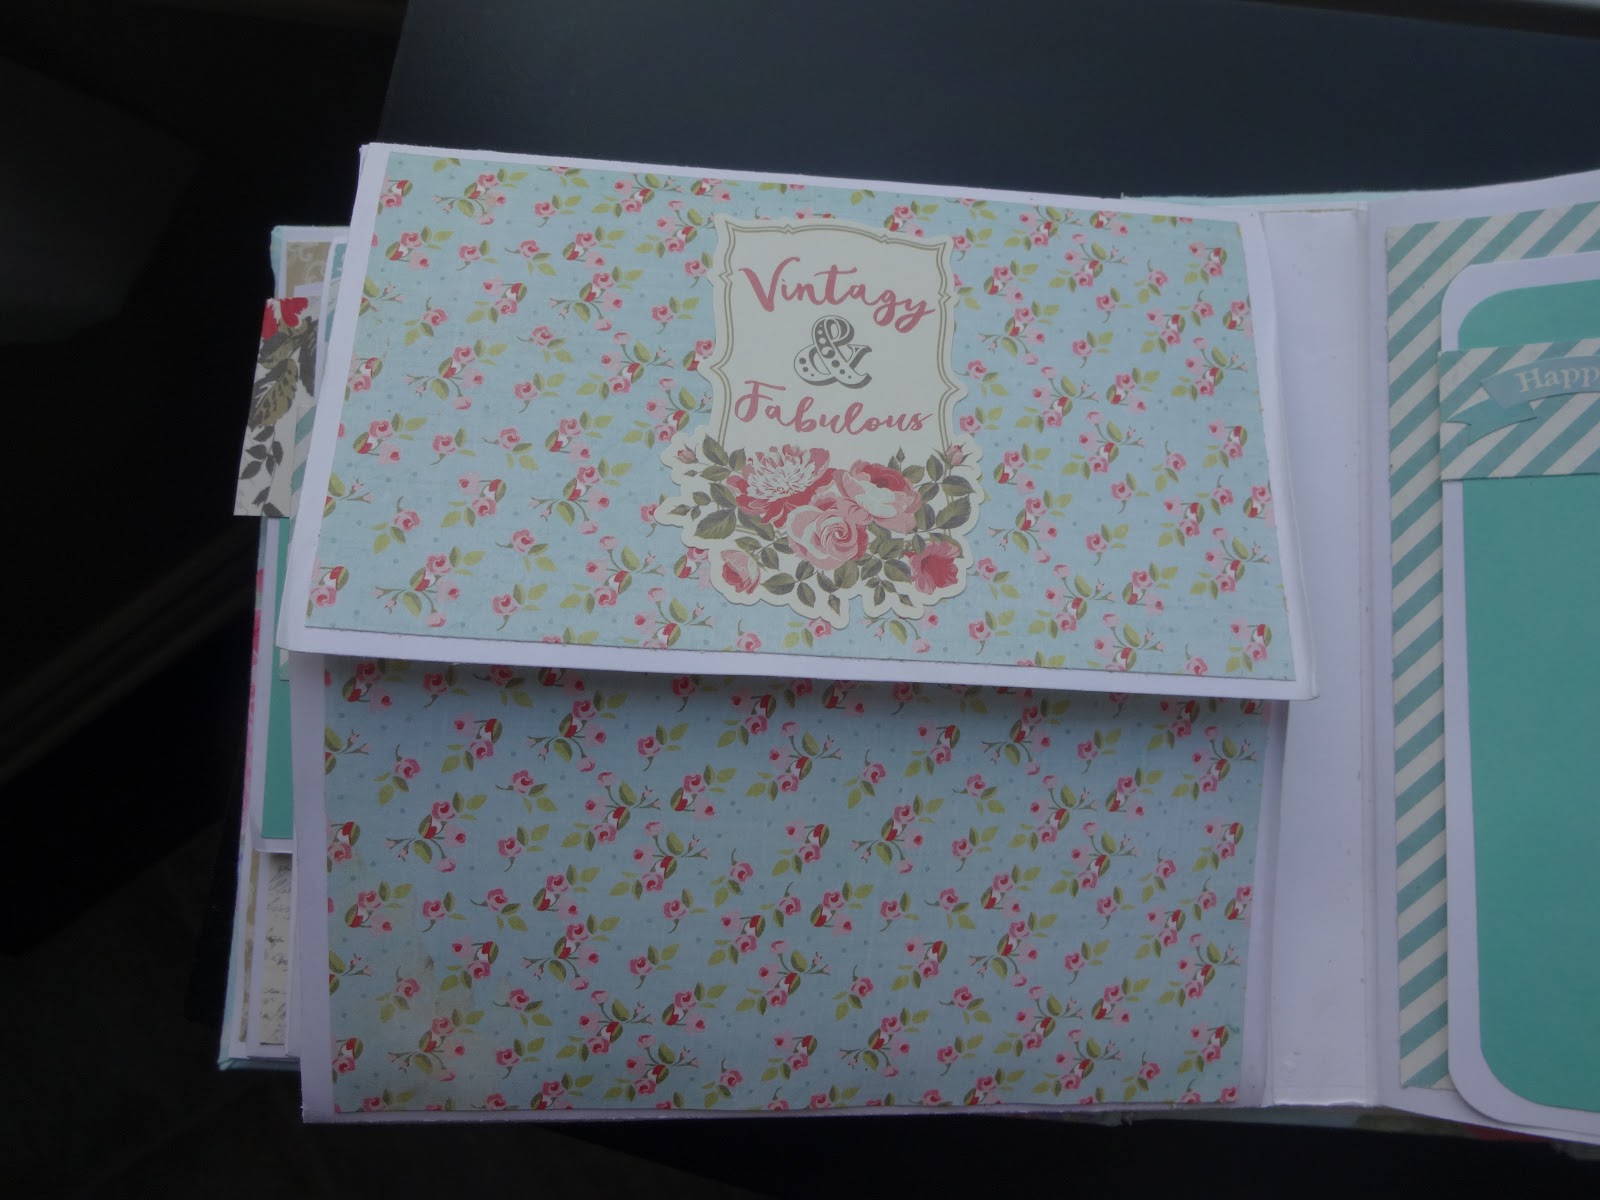
The inside pages.
Inside front cover is a pocket that you can insert pictures using the picture insert shown.

First page front - flip pages open up - pocket inside for add more pictures.

Back of first page - has double pockets with inserts for pictures.

Second page front - has a double left flip page and a double right flip page

Back of second page - flips open at the top and at the bottom with left and right flip pages inside.
Upper and lower flip pages open up to reveal left and right flip pages for the second page back.

Front of the third page - Flip page on the left has a pocket for a picture insert. When the flip page is open there is another pocket on the right side with another picture insert.

Back of page 3 - left and right flip pages open up and you have an envelope flip booklet.

This is the envelope opened. Pages in the middle flip up for more pictures.


This is the left angled flip page opened to reveal the pocket.

Waterfall on the back of the fourth page. Inside of the back cover is a pocket for more picture inserts.

And there you have it. If you need more information about this album, please contact the store email address or myself at donnamclean959@yahoo.ca
Until the next time, this is Donna wishing you a safe and happy week.
"If you're alone, I'll be your shadow. If you want to cry, I'll be your shoulder. If you want a hug, I'll be your pillow. If you need to be happy, I'll be your smile.
But anytime you need a friend, I'll just be me."
HAPPY SCRAPPING!!!!


