Hello everyone. Today I would like to share with you an 8 x 8 album that I created using the Prima "Typeography" A4 paper pad. I love this paper. It is very pretty and very heritage looking which I love. I won't bore you with too many details about each page and how I did the pages. There is 8 pages plus the inside of the covers and each is loaded with embellishments. Therefore it would take forever for me to describe everything on each page. The entire album including the binding for the pages was done by hand.
I hope the pictures of the pages will show you the end result.
To start off with below is a picture of the front cover. I did cover the entire cover with a pretty cotton fabric that I found at my local fabric store. I first laid out the chipboard pieces for the cover, (two pieces 8 1/2" x 8 1/2" - one for the front cover and the other for the back cover. 1 piece for between the cover pieces). I then adhered batting that you use for quilting onto the chipboard pieces, then adhered the fabric to the batting. I wrapped the edges of the fabric around to the other side and secured it in place.
To start, I made the inside of the album using a heavy cardstock. I then covered each one of these pages with my finished 8 x 8 layouts. Each one is different. I will give a brief explanation of some of the pages as we go. So to start -
INSIDE FRONT COVER
FIRST PAGE
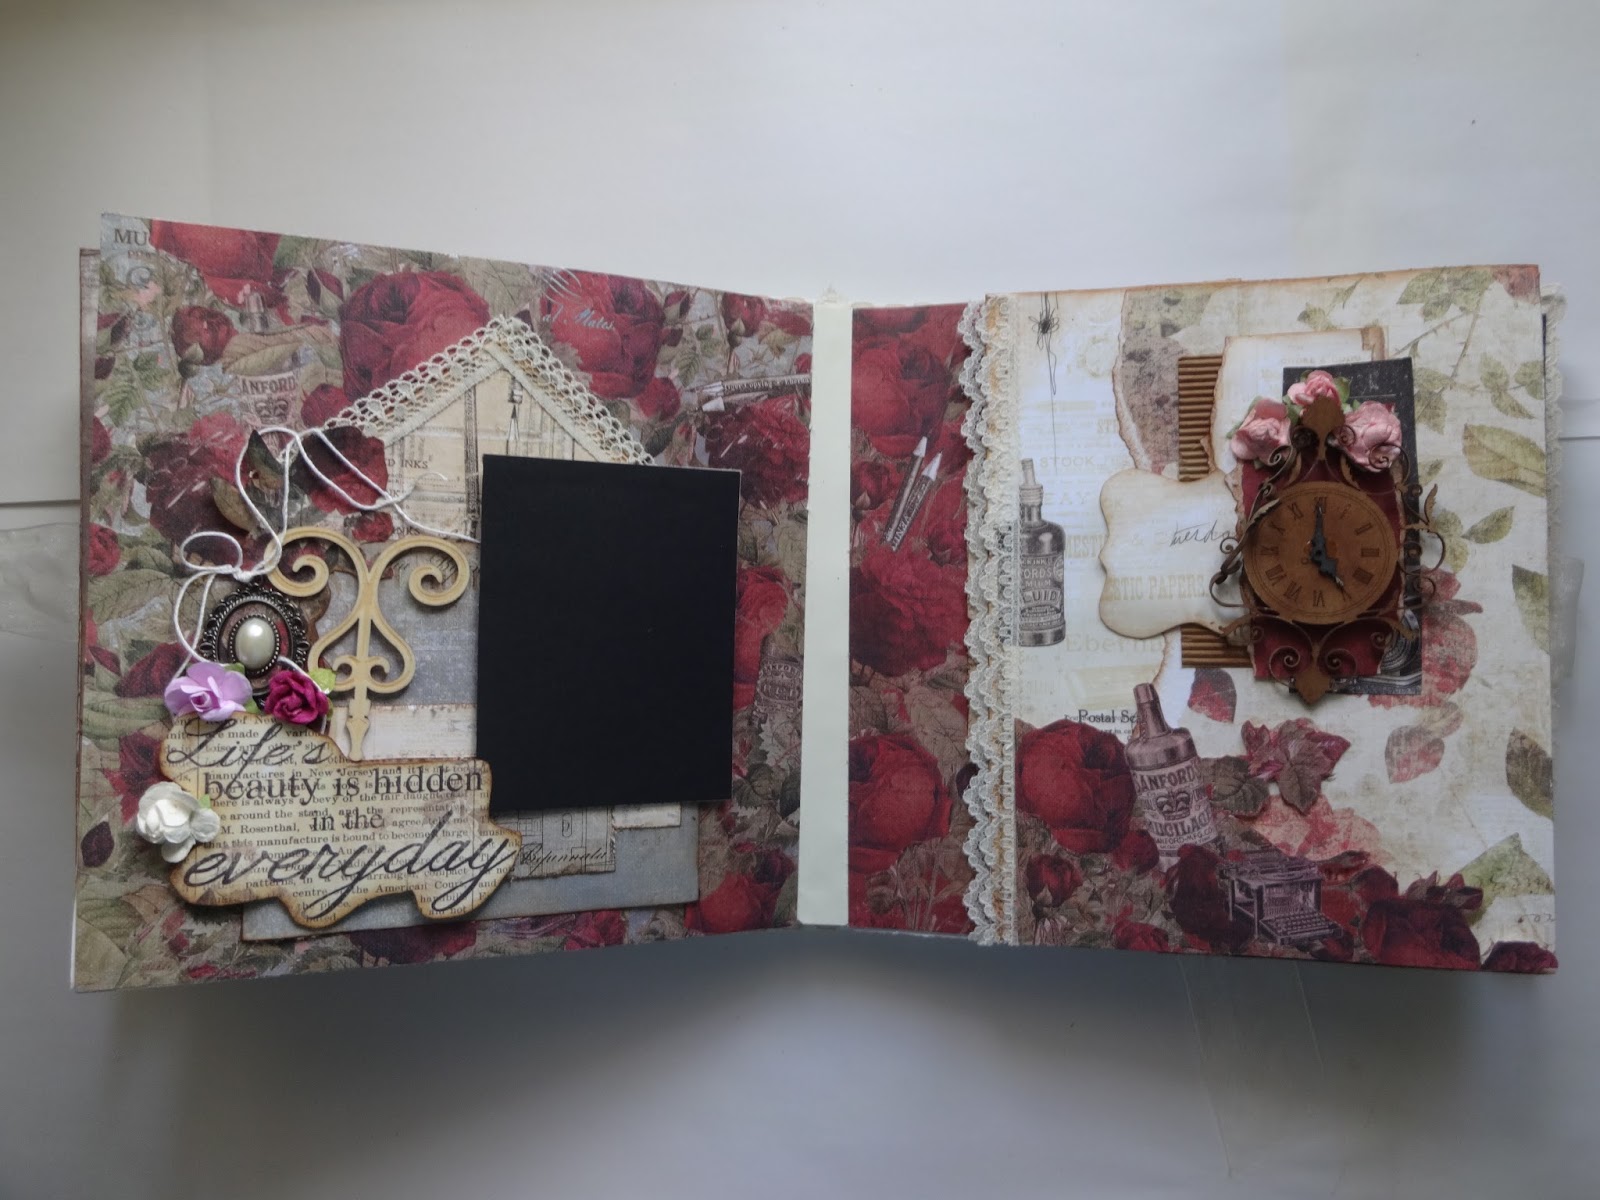
The black that you see on the pages is where the picture will go. I first decided what size picture I wanted on each page, laid it down then built the balance of the page around this size.
SECOND PAGE AND THIRD PAGE
FOURTH AND FIFTH PAGE
The fifth page which is on the right opens up. There is a picture below.
You could add pictures to the inside of the flap if you wanted. I kept the inside simple for the purpose of placing more pictures.
SIXTH AND SEVENTH PAGES
Both these pages flip open. The sixth page opens from the top and the seventh page opens from the bottom. A picture of this is below the main picture.
Again the seventh page was kept simple for the addition of more pictures.
PAGE 8
INSIDE BACK COVER
At the outside edges of the front and back covers I adhered a strip of silk organza ribbon, topped with a metal decorative circle. I use this ribbon to secure the album when closed by tying a large bow.
The picture below is a view of the album when completed looking from the top so you can see how neatly the pages fit into the album.
I was very happy with how this turned out. I hope you do too.
So for now, have a great day. Until next time
HAPPY SCRAPPING!!!!
"Great things are not done by impulse, but by a series of small things brought together."