Sunday, September 16, 2018

Circular "By The Sea" Mixed Media Plaque

Good day everyone.  Today I want to share with you a 9" wood circle onto which I created a "By The Sea" scene.  I enjoy creating water scenes and using a lot of sea-like items.
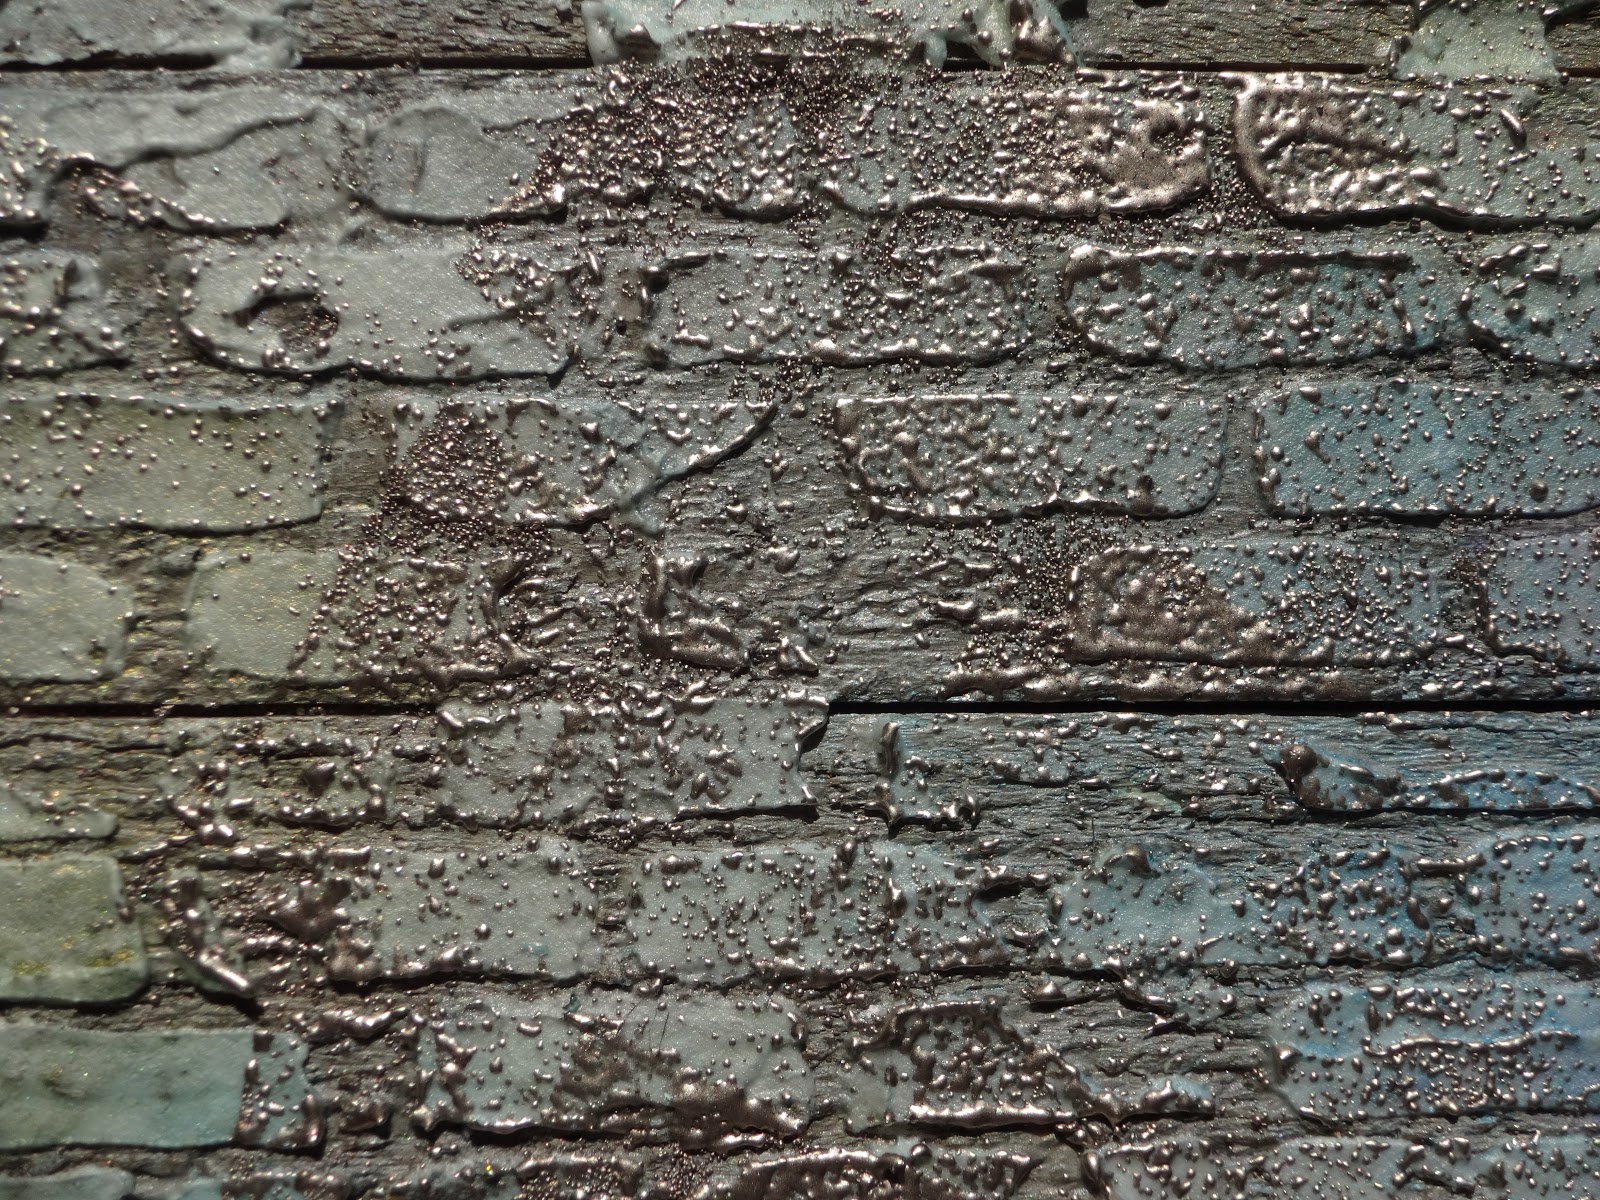
I first started by painting white gesso onto the surface of the wood.  I followed with a coat of crackle paste from Golden.  I let the paste dry completely without help.  You get larger cracks when you do this.  You can help it along with a heat gun but expect to get smaller and less cracks.  It really does look like water.  I then applied a turquoise spray with a paint brush to get better control and then added some brown spray here and there for accent.
Below is the completed plaque.


  I applied a coat of matte medium to protect the surface when the sprays had completely dried.  I did not want the crackle paste to flake off.


I then added my other items starting with a piece of cheesecloth on the left side of the resin frame.  I added a large shell to the centre of the frame.  On the frame I painted on some of the turquoise background spray here and there and then some bronze paint here and there for accent.
On the right of the frame I adhered some fish netting and placed another piece of cheesecloth to the upper edge of the netting by tucking it underneath.
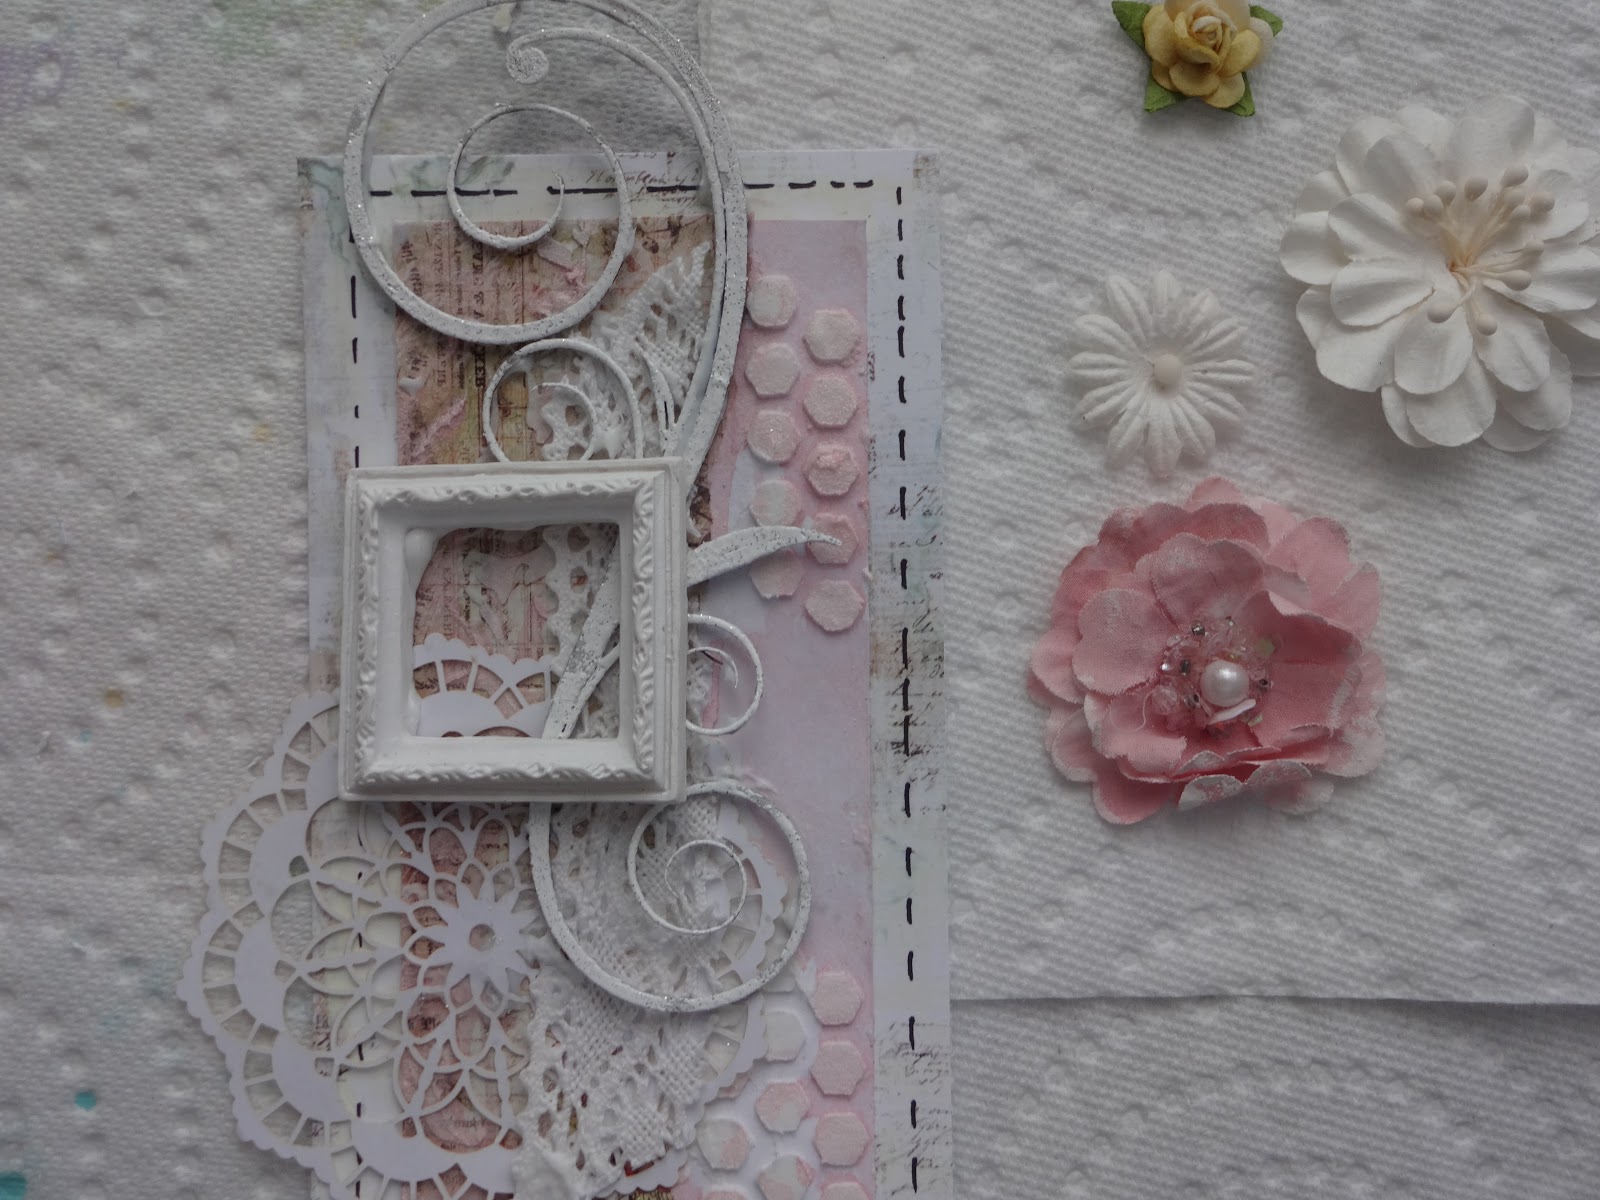
The rest is shells, flowers, greenery, broken turquoise tiles, and art stones.  When done I added some more of the spray here and there around all the elements.  Below is some close-ups of sections of the plaque.


And there you have it.  I hope you enjoyed this tutorial and will give it a try.
Until next time, this is Donna wishing you a safe and crafty week.
"If you do not change what you are doing today, your tomorrow will be no different than yesterday."
"HAPPY SCRAPPING"

Saturday, August 18, 2018

8 1/2" x 5 1/2" Vertical Album

Good Day everyone!!!
I have become very obsessed with making mini albums lately.   I find that you can make them very unique and can be used for those very special pictures.  They can be time-consuming but I feel that the end product is very satisfying.  So today, I am going to share with you one of my albums.  I decided to do this one so that it opens vertically so that the pages flip from bottom to top.
I have covered the cover (front and back and spine) with a fabric rather than paper.  Here is the album starting with the front cover and a side view.


For each page I used the Prima "You and Me" paper collection.  Lots of embellishments: flowers, decorative chipboard pieces from the You and Me Collection.  Each page has two parts.  The upper part has a 4 1/4" x 4 1/4" flip out section.  You can add two 4x4 pictures inside.  The lower part has a second flip up section which is 6 1/4" x 4 1/4".  You can add two 4x6 pictures on the inside.  There is a total of 3 inside pages keeping in mind that the inside of the front and back covers are part of the pages as well as the backs of each page.  There is a total of 8 flip out sections for a total of 16 pictures.  I won't go into too much description as to how I did each page.  That would be a very long posting.  There is a picture of each top and bottom sections so I hope you can see how I did each section.  A lot of paper collages were used on the fronts of each picture flip out.

Page 1 (inside of the front cover and the bottom section)


Page 2 top and bottom


Page 3 Top

Page 3 Bottom


Page 4 Top

Page 4 Bottom (inside of back cover)


A view of open flip outs.


I will be showing several other mini albums that I have been working on.  All covered in fabric and using Prima papers and embellishments.
Until next time, this is Donna wishing you a safe and fun weekend.
"HAPPY SCRAPPING"
"Be who you are and say what you feel because those who mind don't matter
 and those who matter don' t mind"
Dr. Seuss

Saturday, July 14, 2018

"Choose Kindness" Pastel 9x12 Canvas

Good morning ladies.  Today is the reveal of my 9x12 canvas that I have created.  I call it "Choose Kindness" which is the beautiful quote block cut from the Rose Quartz paper collection from Prima.  This is gorgeous paper.  I took one of the papers and cut out all the flower bunches.  It was a bit time-consuming but I do enjoy doing that type of thing.  I actually do that to some of my very old papers.  I cut out all the flowers and place them in a plastic bag and keep them with all my other ephemera.  I have been able to use a lot of the cut items on several layouts, etc.
The canvas.


To start (unfortunately my picture did not turn out) I put together a paper collage to fit behind the quote block.  I used pop dots for each paper so that I could tuck things under the edges of each of the three layers.  You can see the papers coming out from each side of the block.   I laid the collage down on the canvas and lightly marked where I wanted it to be placed.  This was for the application of the crackle paste and the sprays.  Not much sense in applying these items if they won't be showing because they are under the paper collage. I set this aside.
For the canvas surface, I applied a generous amount of white gesso over the entire surface.  After drying completely, I applied Golden crackle paste mainly around the outside edges and up to my marks for my paper collage.  It is important to let this paste dry on its own to get maximum cracks.  This could take a couple of hours. I then sprayed with a pretty pink spray from Shimmerz called Pop Art Pink.  Here is a close-up to show the cracks.


I then added my quote block using pop dots to the centre of the collage and added the collage to the canvas, not quite centred, more to the left side.  I did use pop dots to raise the entire piece.
I began tucking and adding all the flower bunches I cut out making sure that they were coming out from the layers of the paper collage.  And then the rest of my embellishments - pink and white flowers, flowers from the Rose Quartz collection,  a cut piece of an old doilie (at the left outside edge of the collage and at the top left corner), die cut white vines, chipboard flourishes and diamond shaped chipboard pieces painted with black paint and then art stones.  I also added a section at the bottom right corner of the canvas using a white resin decorative frame.  Here are a few close-ups of sections of the canvas.


And there you have it.  I was hesitant at first with the black accents, but I am glad I used them as they really pop the whole design.
I hope you have enjoyed my latest creation.  Until next time this is Donna wishing you a safe, prosperous, happy, delightful, creative and memory-filled week.
"HAPPY SCRAPPING"
"My husband said it was him or the stamps.  I'll miss him."

Sunday, July 01, 2018

10x10 Shadow Box

Good day everyone!!!!
I call my next project "Creativity In A Box" - a shadow box.  I love shadow boxes.  There are so many things you can do within a shadow box.  I saw a beautiful shadow box many years ago which was filled with items from a person's past - old keys, old buckles, and other special family  items. It was stunning.  So I created a 10 x 10 white shadow box using many mixed media items - chipboard, 7 x 3 1/2" chipboard tags, flowers, chipboard decorative frames, patterend papers, flowers and a metal "family" door sign as well as resin items, micro beads, modeling paste, and sprays.
Below is the completed box.


To start with I removed the back of the box painted it with white gesso,  a bit of stencilling with modelling paste, then some sprays. I kept the sprays and paste at the outside edges and corners as I knew I was going to be covering the centre with the tags.  I added strips of other papers across the top of the box back for more texture.
I then took two 7" x 3 1/2" heavy chipboard tags covered them with matching patterned paper.  For the tag on the left I added another patterned paper just in the centre.  I inked the edges with brown distress ink for accent.  Then I began adding the embellishments.  I started with the chipboard flourish for the tag on the left and then layered all the other items, one at a time.  The metal door sign on the right is in its natural state.  I did not have to to anything with it except add the embellishments and micro beads below the word family and small amount of the spray around the inside edges.
 Below is close-up of the box with the tags completed.  I used pop dots to raise the tags up.


And a few more close-ups of the tags.


And there you have it.  Until next time, this is Donne wishing you a safe and happy 
1st of July holiday weekend.
"Happy Scrapping"
A perfect summer day is when the sun is shining, the breeze is blowing,
 the birds are singing, and the lawn mower is broken.
Have a good one!!!!!

Monday, June 04, 2018

Mixed Media Journal Book Cover

Good day everyone!!!!
It is time for another journal book cover using mixed media techniques.
This is obviously one of my favourite things to do.  I  start by deciding on my favourite piece (in this case it is the oval decorative resin heart) which will be the focal point then adding other items under and around it.  I just keep adding items from my stash.  Below is the completed cover.  I wanted to end up with an antique,distressed look.


To start with I covered the entire cover, front and back, with a canvas fabric.  Just a word of caution, if you use a canvas, remember that if you apply sprays, it will soak into the fabric.  Make sure that you spray very lightly and then lightly with water.
I adhered a wide strip of antique lace over the binding and around to the back cover
 then another strip across the centre on the front.


  The ornate trellace was inked with a brown distress ink.  I started by adding the ornate trellace chipboard pieces as shown. Then I adhered the frame in place. I put an antique photo in the frame (not anyone I know) With my finger I applied some gold rub around the frame on the lace.


Below is a close-up of sections of the cover.  I made the white strips below using a Prima mould and their paper clay.  I applied them over the trellace.


The picture below shows the other embellishments that I selected.
I made sure that everything was touching each other.


The next section is just above the frame.
When I was completely happy with my selections, I applied small art stones from Prima and gold mica flakes here and there.  I also sprayed with a light brown spray on the lace and on the corners of the open side.  I applied distress ink around the outside edges for extra accent.  With my finger I applied a gold rub here and there and then I dry-brushed white gesso on the flowers and some areas of the trellace and the metal embellishments.


And there you have it.  I hope you enjoyed this tutorial.
Until next time, this is Donna reminding you to have a safe and prosperous week.
"HAPPY SCRAPPING"
"To see a world in a grain of sand and heaven in a wildflower, hold infinity in the palm of your hand and eternity in an hour."           William Blake

Monday, May 28, 2018

Easy Mixed Media Layout

Good day everyone!!!!
It has been a while since my last posting - the gardening got in the way.  So today I am going to share with an easy mixed media layout.  This picture has been waiting a long time for a home - my granddaughter in the picture is now ten years old.  Some day I will be caught up.

For the background, I cut strips off of  two co-ordinating papers and added them to the left side of the main paper piece.  I tore the edges first, glued them together making sure that I measured across the top to keep the paper at 12".  The main paper piece is the striped piece on the right which I cut down to 10" wiide.  The middle pink piece is the back of the main paper piece (the 2" that I cut off of the end).  I then added to the pink piece a 2" wide strip of a co-ordinating paper.  I fussy cut the flowers from the second paper to use around the photo.  Here is a close-up.  I applied a texture paste onto the background using a vine stencil.


I embossed two decorative chipboard frames with a white embossing powder and added them to the layout first.  Next came the flowers that I cut out from the second patterned paper.  You can see them on the frames and coming down the sides of the picture.  I added some lace then tucked a decorative chipboard piece, embossed with sparkly pink embossing powder, under the bottom edge of the lace.  I added my picture next (popped up) then my silk flowers and leaves.  And finally I put some art stones around the picture for added texture.   There you  have it.
  Below is another close-up of a couple of areas.


Until next time, this is Donna wishing you a safe and happy week.
"HAPPY SCRAPPING"
"The moment of enlightenment is when a person's dreams of possibilities
 become images of probabilities.

Wednesday, April 25, 2018

Wood Wall Hanging

Good morning everyone!!
Today's project is a wood wall hanging.  After spring cleaning and organizing my craft room, I came across a wood box that was hidden in my closet.   Since I don't remember when I purchased it, I decided that perhaps it is time to do something with it.  It is quite nice, as the back is open and you could use it for a shadow box.  I chose to use the front flat side.  It is made with real wood.


I then applied modeling paste using a brick wall stencil over the entire surface.
For protection, I applied a good coat of clear gesso.  This will help the sprays spread easier and not soak into the wood.


After the gesso dried I sprayed with 3 colours of spray purple, pink, and turquoise making sure that I dried each colour before I applied the next.
After all the colours were applied, I embossed some platinum "utee" here and there over the surface.  This is something else I forgot that I had.  It gives a silvery shine to the surface.


And the rest is the embellishments.  I started by applying a piece of cheese cloth over the centre portion of the box.  I placed some honeycomb chipboard pieces next, a larger one at the top left corner of the cheesecloth and a smaller one coming out at the bottom.   For my picture frames I added the purple and turquoise sprays using a paint brush - one at a time then I adhered patterned paper behind - one with a bird and the other with a butterfly.  You can see the rest of the embellishments and where I placed them below.  I also die cut vines with chipboard and embossed them with a light turquoise sprarkly powder, punched butterflies which I placed one on top of the other then sprayed them with the same spray colours.  At the very end I applied Finnibair's "art stones" around the other items along with some fine turquoise sprinkles here and there.  I then dry-brushed white gesso onto the flowers to blend them with each other.
Below are snapshots of various areas of the box to show you the embellishments that were added.


And there you have it.  I did find lots of other items that I forgot that I had.  My next project is to do something with the glass bottles that I found.
Until next time, this is Donna wishing you a great day.
"The best and most beautiful things in this world cannot be seen or even touched,
 they must be felt with the heart."

"HAPPY SCRAPPING"

Wednesday, March 28, 2018

"Journey" Pastel 8x10 Mixed Media Canvas

Since spring is just around the corner, I created a canvas using pastel spring colours - pink, yellow, and blue.  Below is the finished canvas followed by some instructions on how I achieved it.  I hope you enjoy it as much as I enjoyed making it.


To start, I selected three papers and cut them into various sized pieces.  I just randomly cut them.  I adhered them to the canvas, overlapping them and crossing over each other.  I applied a coat of matte medium onto the entire surface so that the sprays I used would not soak into the paper and to give me nicer flow of the sprays.  When this was dry I applied a watered down coat of white gesso - not too thick, I didn't want to completely cover the papers.


I then applied a coat of white crackle paste randomly over the surface leaving some areas open so that the paper will still show through.


Next I selected my spray colours:  Shimmerz Egg Noggin, Jeni B. Bleu and Sweet Heart pink and sprayed here and there with each colour.


I embossed a chipboard square collage panel in a soft gold and adhered it as shown.  The two white strips across the centre are cookie sticks from the baking dept at Micheals's.  They are almost like a straw but are solid.


 For the centre section I cut a piece of paper (same as I used for the base) 3" wide x 6" long, accented the edges with the Jeni B Bleu spray and drew some random stitich lines with a black pen.  I cut another piece of the same paper 2 1/2" wide x 5 1/4" long and added this to the centre.  Onto this centre piece I tore a strip of another paper and applied it down the left side (only half way across) then I stenciled modeling paste onto the right side of the second paper piece.  I also applied the pink spray with a brush around the outside areas of the centre section.
Next I added a strip of lace down the centre (you can see it just under the chipboard flourish).  The small white doilie was next, the chipboard flourish and then a small white resin frame.


Next were the flowers, the leaves which were stamped onto vellum and cut out by hand, and a vellum butterfly.  Finally, I placed some cheesecloth under the main flowers and the frame for softness.  I adhered the centre piece with pop dots to give it a 3D look.   I also applied Finnibair small art stones here and there along with a few white pearls.  With my finger I lightly applied a gold rub here and there.  Below is a closeup of the centre section.


I hope you enjoy this newest canvas.  It is so soft and pretty using the pastel colours.
Until next time, this is Donna wishing you a great week and a Happy Easter.
"HAPPY SCRAPPING"
"Have a heart that never hardens, a temper that never tires, and a touch that never hurts."
                                                                Dickens

Friday, March 23, 2018

Heritage Layout

Hello everyone!!!
Today I decided to post a heritage layout that is simple but pretty.


The background paper looks like it had the colours sponged on - not a lot of pattern on it.  I took another paper and tore three pieces from it and inked the edges.  I then took a couple of stencils and applied modeling paste to give more texture.


I put together a collage of various papers, cut in different sizes, which my picture will be adhered to.
I then punched circles from a map paper and added them to the layout as shown below.


After the picture was added I placed my embellishements starting with the chipboard trellace at the left side of the picture along with painted chipboard leaves.  I added flowers and a metal embellishment to the trellace.  I added another flower to the bottom right corner of the picture with ghost chipboard leaves and a couple of metal gears.  For the final touch I added some gold micro beads here and there onto the flowers and around the outside of the picture.  And that is it.  Kept it simple and easy.
Until next time, this is Donna wishing you a safe and delightful weekend.  Keep smiling.
"Happy Scrapping"
And for a little humour
"If you expect breakfast in bed, go sleep in the kitchen."