Saturday, July 26, 2014

Two New Layouts

Hello, everyone.  Today I am sharing with you a couple of layouts that I did at my favourite scrapbooking retreat that I was at this past week.  I decided to break away from the mixed media method and went back to my cute and easy layouts.  The one below is my favourite as it is so fun and fresh looking.
Great for a summer picture.


I had a strip of chipboard that had a scalloped edge on it.  I traced the edge all around onto the background paper and cut it out.   I do know that you can get rulers that have scalloped edges on them similar to the chipboard strip that I used.   I inked all the edges of all the paper pieces with a soft brown ink.    I took my second piece of background paper, cut it down to about 10 1/2" square and adhered it to the first paper, centering it.  I then took my black scripto pen and placed tiny dots around the scallops on the first paper and along the outside edge of the second paper.  I also drew broken stitch lines around the inside edge of the second paper.
For the centre paper, using a stencil,  I traced and cut out a decorative-edged piece and added that, again centering it.  I also placed some dots around the inside edge of this piece.
And the rest was simple.  I drew out some clouds, added some broken stitch lines around the outside edges and placed them down with pop dots.  I die cut the sun using spellbinders dies.  And lastly I cut out pieces of scrap paper to make the kite and banner.    I used some blue twine across the top of the banner and continued the twine up to the bottom of the kite.  I did the same on the other side and tucked it under the clouds.  Added some wood butterflies and a couple of pre-made bows.  And there you have it.  Very easy to do.  In fact I think the dots and dashes took the most time.  Here are a couple of closeups.


Another layout I did was specific for a boy. 

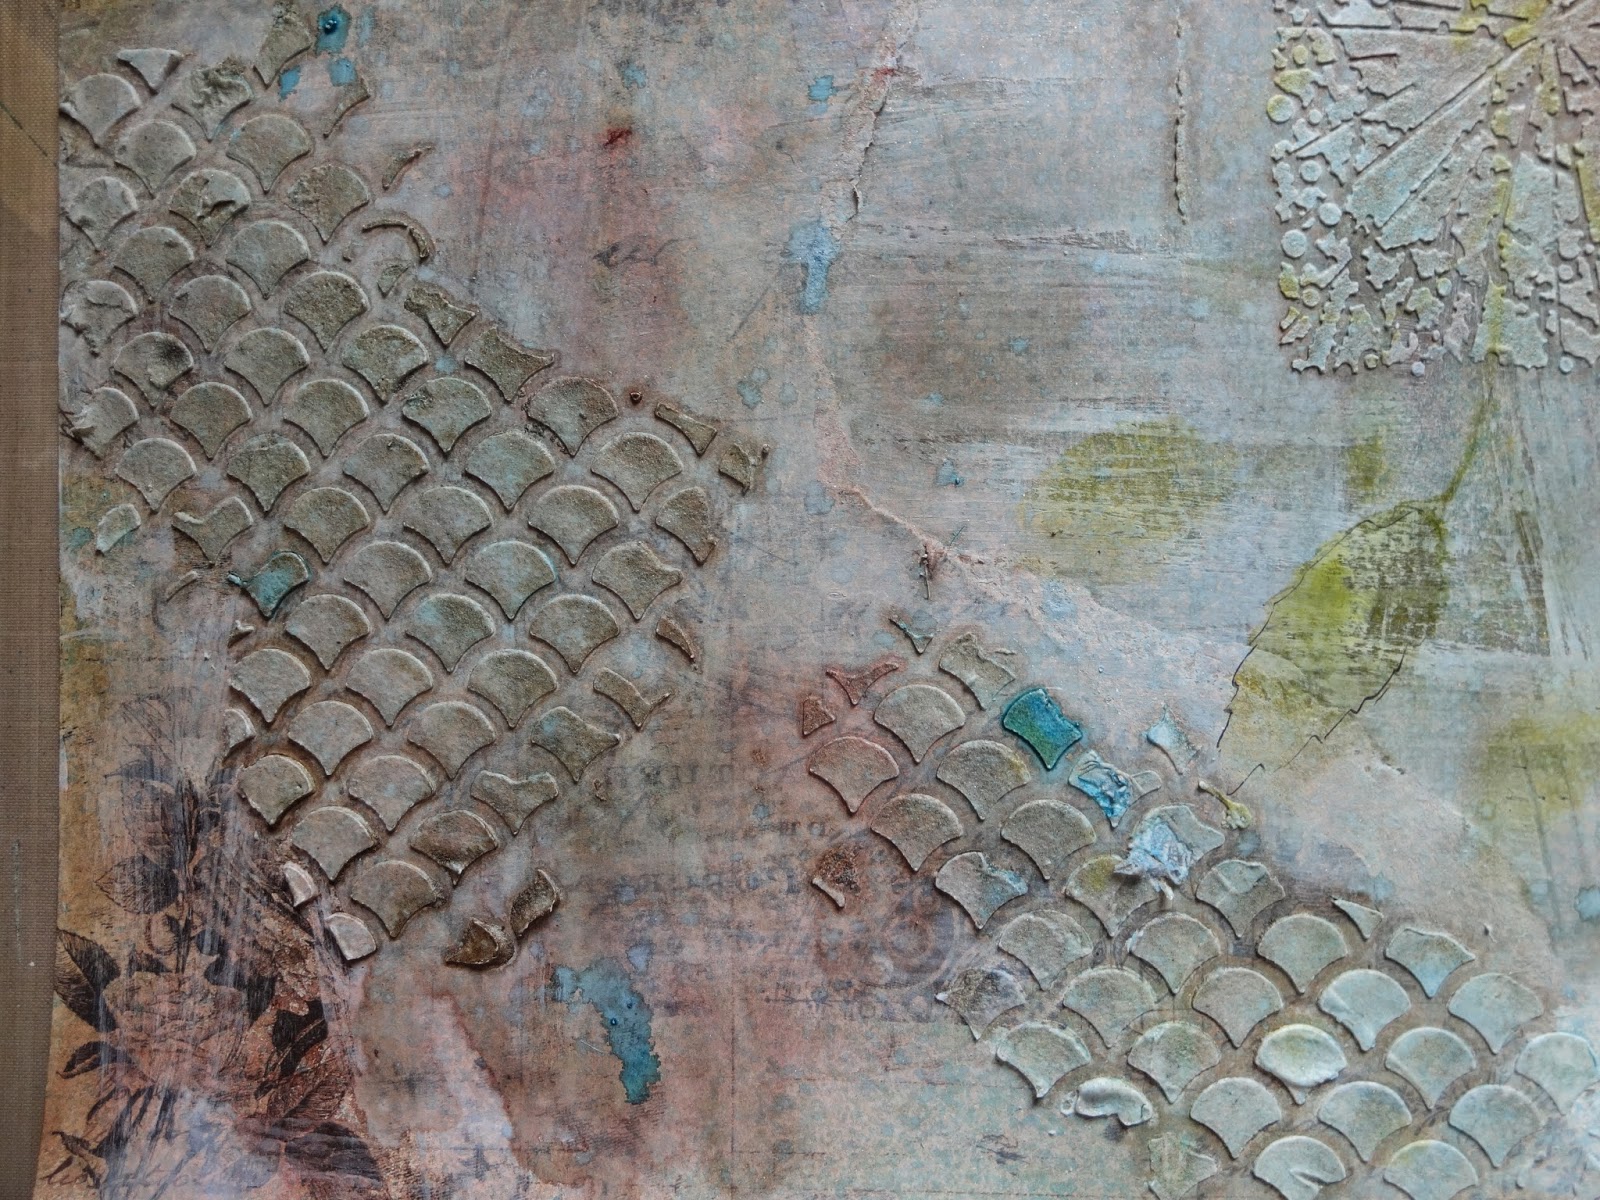
I first used a stencil with circles and using a spouncer, I applied a brown metallic paint  at the upper left corner and the bottom right corner.  I cut various sizes of various papers and layered them starting with the first one at the left side of the page and working my way across.  When I had my papers down I added a piece of burlap in the centre. I did rub some gesso onto the burlap to give it some more texture.  I also took a piece of corrugated paper, brushed on some gesso, and added it to the right side of the burlap piece.
For embellishments I used wood gears as shown and also a wood frame at the top and bottom of the picture.  I placed some music paper behind the frames.  And there you have it.  I like to layer papers that go well together.  I also like to rough up the edges of the pieces and do some tearing.  Here is a close-up of the upper left corner.


And for all you
"HAPPY SCRAPPERS"
"Do not follow where the path may lead.  Go instead where there is
no path and leave a trail."                    Emerson

Sunday, July 20, 2014

Customer Appreciation Sale this week!

Mark your Calendars!  We are having a Customer Appreciation Sale this week! 

We want to say Thank You to all our wonderful Customers!

Friday July 25th, and Saturday July 26th stop by the store and receive 20% off your entire order!

For our on-line customers, you will have from Friday July 25th until Thursday July 31 to fill your shopping carts for 20% off as well.

(not applicable to special orders or online shopping store pickups).

We hope to see you this weekend!!

Monday, July 14, 2014

The "NO PLAN" Mixed Media Layout

Today I thought I would share with you a mixed media layout that I did today.  I have to be honest with you.  I selected my picture but I had no idea or plan on how to do my layout.  I decided to just go for it.  If I made a huge mistake, I figured I could cover it up somehow.  Below is the layout.

  I knew I wanted lots of texture on the background.  I first chose two pieces of patterned paper which I had in my "stuff" for a long, long time.  I tore the one paper in half but curved it.  I then inked the edges and adhered it to the left side of the background paper.  To blend the papers together I painted a thin layer of watered down gesso over the entire surface.

I then selected stencils that I wanted to use for background texture.  

The leaf stencil I applied with Tim Holtz crushed olive distress ink.   Using moulding paste I placed the stencil below the leaf one at the centre of the leaf vines.  The other stencil I applied here and there with moulding paste.  When the paste was dry I sprayed with a light brown spray, then a taupe spray (which had red in it) then I dripped a turquoise spray here and there.  Here is a closeup to show you the different textures that I achieved.

I decided that I wanted a bit more texture so I selected another of my favourite stencils and inked it here and there using a a brown distress ink.

For the picture placement, I took a random piece of patterned paper and cut out a piece for the back of the picture which comes out from the top left corner of the picture.  I also tore a few pieces from the other half of the background paper that I tore off.  I heavily inked the edges and adhered them around the picture.
I had wood gears in my stash so I pulled out a few painted them with gesso, sprayed with the turquoise spray I used on the background then stamped them with a random stamp using black ink.  I also took a wood frame, cut it in half, and adhered them to the right side of the picture by layering one on top of the other and off-setting the one piece.   I pulled apart a few pieces of burlap and tucked them under the two upper corners and bottom left corner.  I felt that the background needed some black.  So I took a stamp, inked it with black ink, and randomly stamped it here and there.  I also drew around the leaves of the leaf vine stencil using a black scrapbooking pen.   And the final thing, I splattered white gesso here and there using a paint brush.  Very easy to do and adds to the texture.   Here is a closeup of a couple of sections of the completed layout.


Given the fact that I did not know what I was going to do, I was quite pleased with how it turned out.  I realize that with mixed media anything goes.  Don't think - just do what you like.

Until next time, this is Donna reminding you to continue being a
HAPPY SCRAPPER!!!!!
and remember
"Life is a great big canvas, 
and you should throw all the paint on it you can." 
                                                                                       Danny Kaye

Monday, July 07, 2014

Using up More Chipboard Letters

Hello everyone!!!!!  Well I finally got a new computer.  What a difference - I have a lot of navigating to do to learn how to fully use it.  So here is my first blog to share with you.  Sometime ago I did a tutorial on how to use up chipboard letters by creating a picture frame.
 Here is another idea based on the same method.
I started by cutting a 4" wide x 11" long piece of white cardstock.  At the left end of the strip I measured in 
3  1/2"  and drew a line.  From the other end I measured in 2 1/2" and drew a line.  The space in between the lines is where I plan on placing my picture on a piece of patterned paper 5" wide x 6" long.

I then pulled out my chipboard letters that I wanted to use up.  Size, colour, shape - doesn't matter.


  I cut the right side end (the 2 1/2" end) off by cutting it 1" in from the pencil line.   I did this so that I could ensure that my picture section did not go over any of the letters on this end.  You can also adjust the pieces to suit your picture as you may not use the same picture size as I did.   Then I placed the letters onto the cardstock as shown above.   When I was happy with the placement, I glued them down securely.    I kept the letters to the outside of the pencil lines.  You will notice that I added the #2 on the larger section.  Add more numbers if you wish.
I then painted all the letters with white gesso.  To be sure I did two coats.  Let this dry completely.


I then took a turquoise blue spray (which matched my papers) and sprayed the letters.  I used a piece of paper towel and lightly soaked up some of the spray off the letters.  This is optional.  When the spray was completely dry, I rubbed a bit of brown ink here and there onto the surface of the letters for an extra accent.  Below is a closeup of the letters after spraying and inking.


 And the completed layout.


I used the WER Memory Keepers "Cut and Paste" line of paper and a package of their matching embellishments.
I hope you enjoy.
Until next time
HAPPY SCRAPPING!!!!
and for my quote:
"I think, at a child's birth, if a mother could ask a fairy godmother to endow him/her with the most useful gift, 
that gift should be curiosity."  Eleanor Roosevelt