
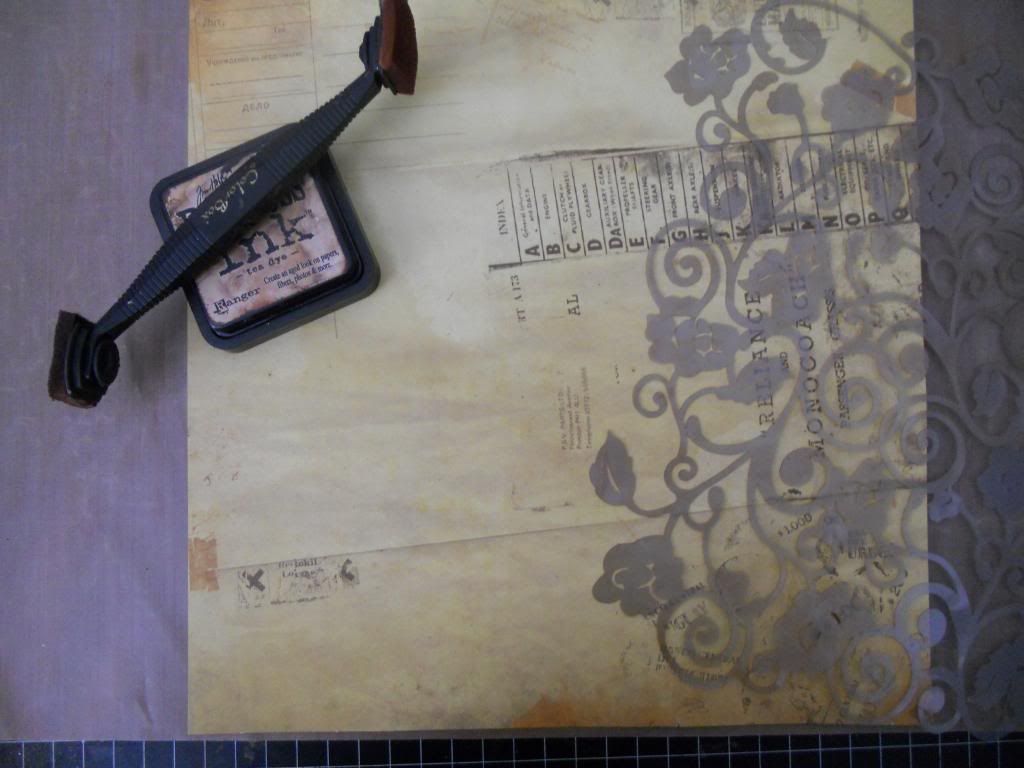
Hello everyone. Do you have that piece of patterned paper that just doesn't quite do it for you? Well here is an easy solution to give that paper an uplift. First the layout.

Below is the paper in its original form. It is a bit boring.
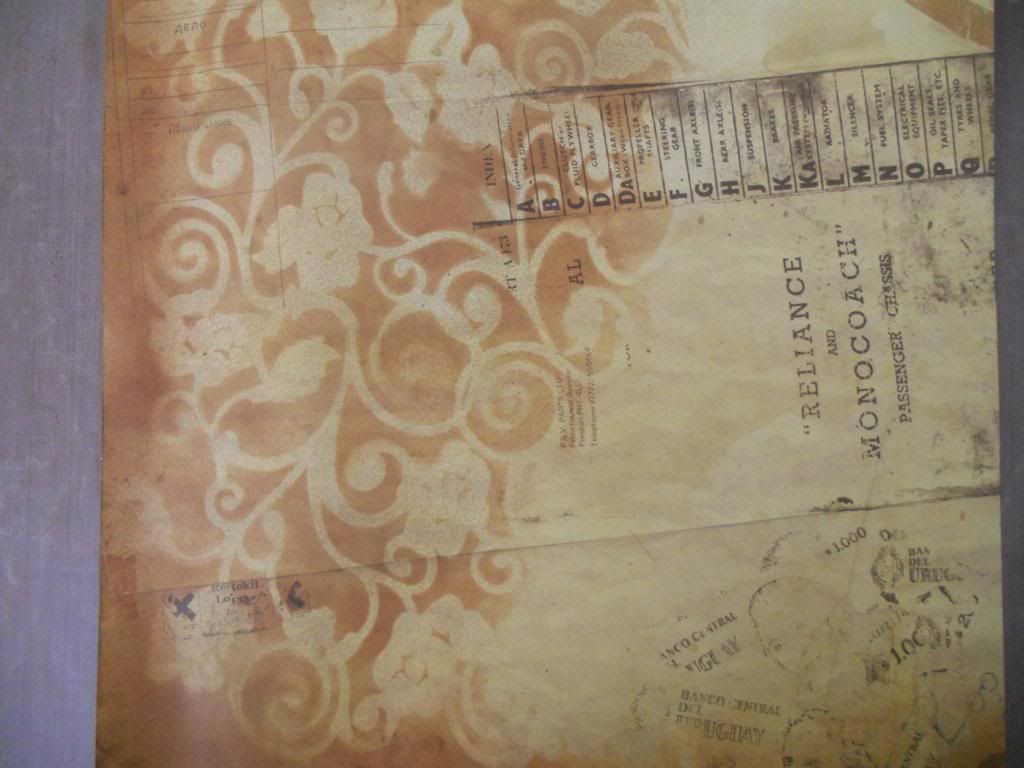
When I had the complete paper stencilled, I added more ink around the outer edges of the paper. I also used an antique brown glitter spray that unforunately you cannot see in the picture.
To complete the layout I used a dark brown cardstock for the base. I then took a mustard coloured cardstock and cut it down to an 11" square. Around the outer edges I stamped a border stamp with a darker brown ink. I adhered this to the brown cardstock, centering. I then took another piece of patterned paper which is the same as the stencilled paper. I turned it over and used the other side. I cut it down to a 9 1/2" square. I then distressed the edges of the paper and using the same brown ink as with the stencil, I heavily inked the edges. This I adhered to the mustard cardstock, centering. The stenciled paper I cut down to an 8 1/2" square. It was necessary to re-ink some of the outer edge area. Again with the same border stamp and darker ink, I stamped around the outer edges. This was adhered to the centre of the second patterned paper.
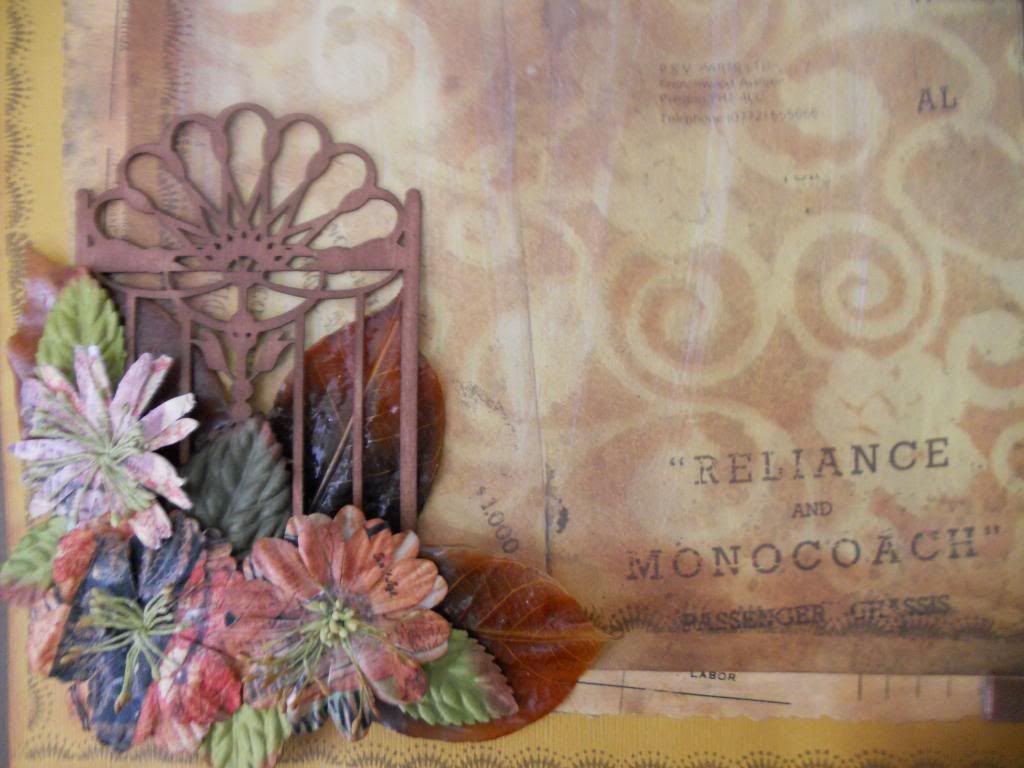
I added the chipboard gate, antique leaves and flowers to the layout as shown. Here is a closeup of the bottom left corner.
And there you have it. Experiment and have some fun.
HAPPY SCRAPPING!!!!!!!
1 comment:
Gorgeous... Love the results of the stencil and distress ink.
Post a Comment