

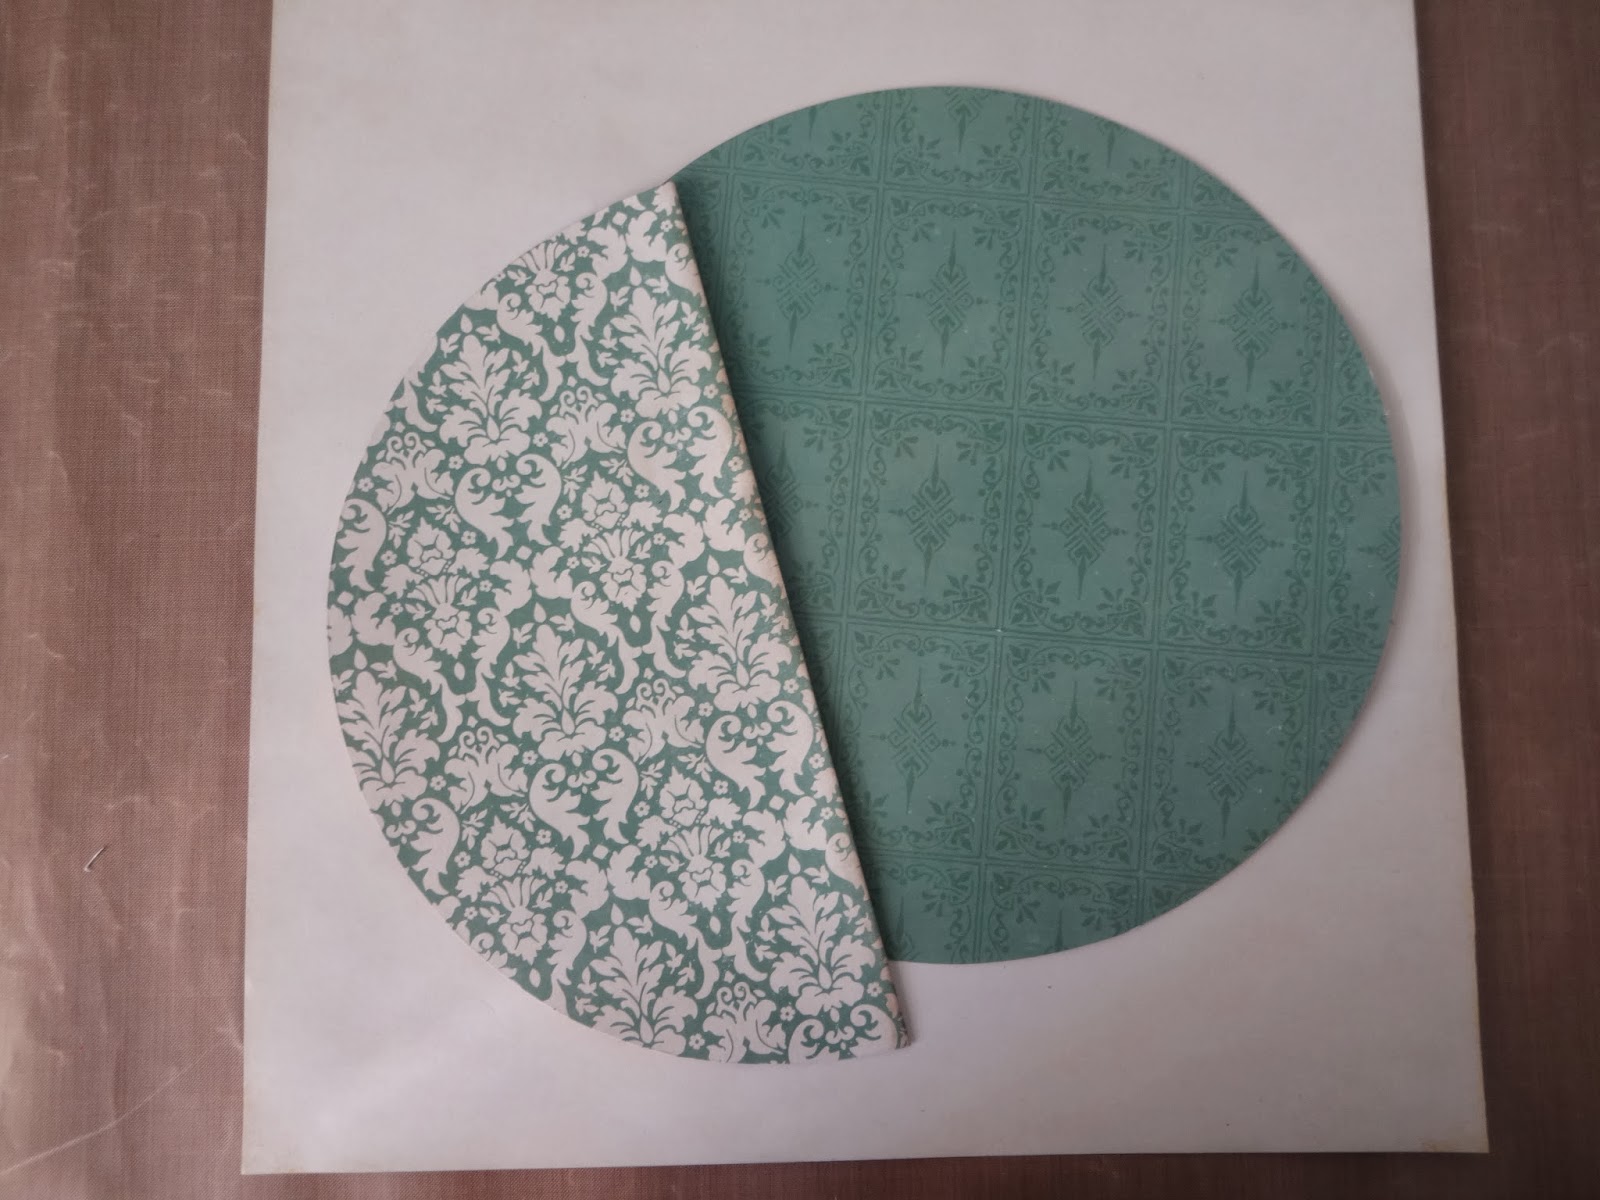
To start I chose my paper that I wanted for the circle. I used paper from the Echo Park Lori Whitaker "Reflections" line. I cut out a 9" circle from the paper (the green). I kept the paper after the circle was cut for use later on. I then cut a half circle from the outside edge of the second paper I selected (paisley). Measure from the edge toward the centre of the paper (4 1/2"), mark it, then trace the half of the large circle. Cut it out using scissors. I cut it from the side edge as I will need the balance of the paper for the ruffles. I adhered the half circle to the left side of the full circle.
For the ruffle I cut four 1 1/2" strips from the balance of the paisley paper. Using a border punch (I selected a lattice punch) I punched each strip. I used the other side of the paisley paper for the ruffle. I did ink the edges of the strips along the lattice edge.

Mist each of the strips with water to soften the paper. Do not soak the paper as it will tear. Now gently fold up the strips as shown below and let dry. Only takes a few minutes.

Now turn your circle over to the wrong side. Take each of the ruffled strips and lay along the outer edge of the circle making sure that you spread out the strips where necessary to fit around the entire circle. Adhere in place. Turn the circle over to the right side and there you have your ruffled edge.

To complete the balance of the layout, I took the piece of paper left over from cutting out the full circle and cut this down to an 11" square. Using a distressing tool, I distressed and inked the edges. I adhered this to the background paper, centering. I then took another full sheet of paper with a different pattern and cut it down to a 10 1/2" square. I distressed and inked the edges and then adhered it to the centre of the green paper. This will cover the hole from the circle. (I like to use up as much of my paper as possible.)
I added my circle to the page. I then adhered some decorative cording around the entire edge of the circle to finish it off. The addition of die cut vines and small yellow flowers (yellow is my favourite accent colour for green) and an organza bow with white twine and small flower at the centre, finishes off the layout. With the ruffles you do not need to have too many extras added. You can keep it simple and let the ruffles be your main feature. I did add a white chipboard circle frame around the picture which I think sets the picture off nicely. A decorative metal oval added and there you have it. You can make a ruffled border for any area of your layout.
I hope you enjoy!!!! Until next time
HAPPY SCRAPPING!!!!!
No comments:
Post a Comment