Tuesday, May 24, 2016

Fun Summer Layout

It looks like summer is here, finally.  
Today I have decided to share a layout with you that is cute and summery.


I have a few rulers that have different scalloped edges on them.  I believe they are from Fiskars.  I traced around the outside edges with one of them onto the background main paper.  I cut out along the pencil lines to give the scalloped edge.  I then drew small dots around the entire edge using my black journaling pen.  This gave the paper extra accent.
I then took a second patterned paper and cut it down to an 11" square.  I drew a broken line around the outer edges using a ruler and a black pen, again for extra accent.  This I adhered to the background paper, centering it.
I have a very old stencil  ( Hot Off The Press) which I traced out onto a third paper to get a scalloped frame which you see in the centre.  I drew small dots around the outside edges of this as well.
From scraps of paper I traced out free hand the clouds and cut them out.  I placed a broken line around the cloud outer edges.  The two top clouds were adhered down with pop dots. I then die cut the sun from a circle and a die that has a spiked edge which became the rays of the sun.  I tucked this just under the clouds.  Then I made a kite from some more scrap papers and a banner.  The tail of the kite is cording which I attached to the kite, then added the banner pieces to the same cording.  Added a couple of bows and wood butterflies which I also found in a "my little junk bin".  It pays not to throw anything out.  You never know when you might use it.  Here is a close-up of the kite .

And there you have it.  The dots and dashes lines added a lot of accent.  Try it.
Until next time,
this is Donna wishing you a great week.
"HAPPY SCRAPBOOKING"
"A perfect summer day is when the sun is shining, the breeze is blowing, 
the birds are singing, and the lawn mower is broken."

Tuesday, May 03, 2016

"Beautiful" Layout

Today I would like to share with you a layout that I finally finished.  I have been very busy completing my projects that I am offering at our June all day crop.
Here is the layout.

The background paper is so pretty that I decided to keep it simple.
Using a stencil and pink textured paste, I applied some here and there but not too much.  I then did a very light spraying with a soft pink spray to accent around the picture.  Then a bit of splattering with white gesso.
The rest is as shown.  A paper collage for behind the picture, an embossed piece of diamond chipboard down the side of the picture, an embossed title accented with some pink spray, flowers, lace,  resin frame and some ivy chipboard was all it needed.  Of course some pretty little butterflies helped.  So simple.   I raised the picture up using pop dots to give it a 3-D look.   Letting the paper speak for itself was the best idea.
Close-up below.


I hope you enjoy.
Until next time,
"HAPPY SCRAPPING"
AND REMEMBER
"You know you are a scrapper if you can't find your kitchen table."

PS:  My workshops for our June all day crop will be posted this week.  
Have a great day!!            Donna

Friday, April 22, 2016

6 1/2" x 4 1/2" Mini Album

Good morning everyone!!
Today I am sharing with you a mini album that I created using up bits and pieces left over from a previous project.  
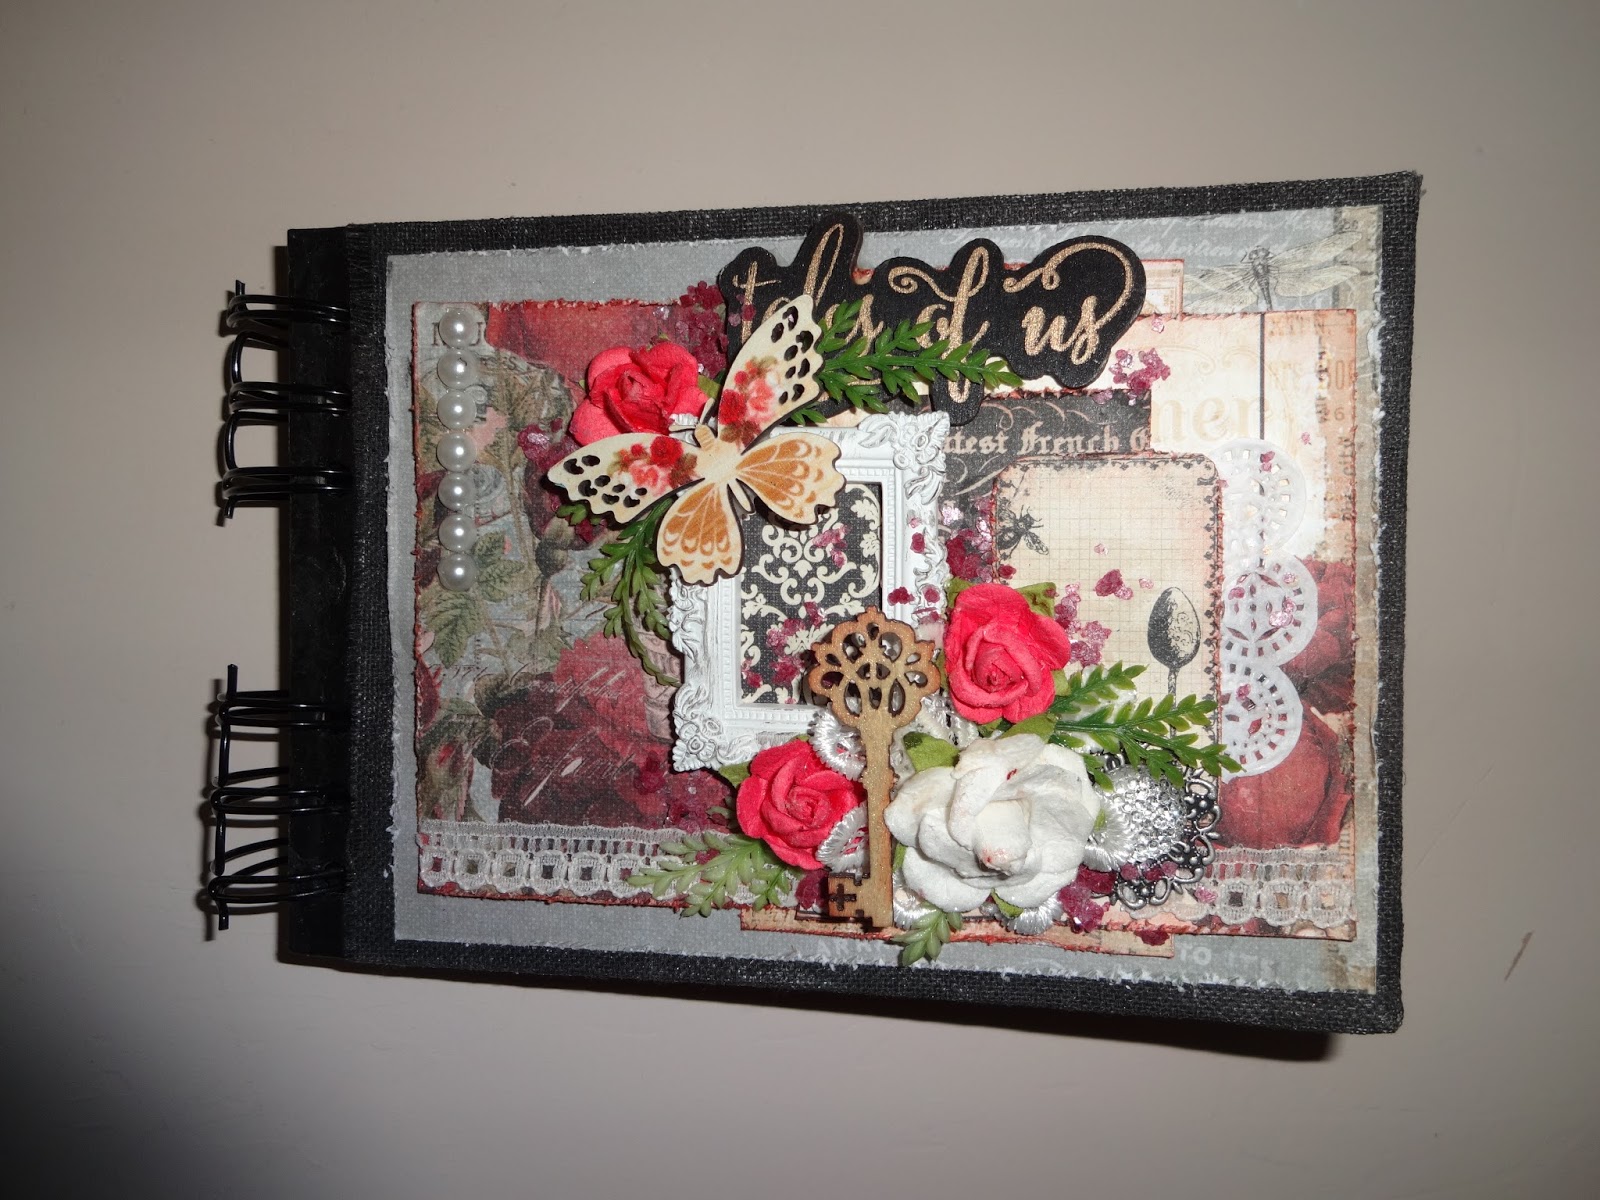
Below is the front cover.
I first removed the wire rings, then I painted my pre-made chipboard album with black gesso keeping the gesso around the outside edges of each page, front and back,  going in about 1".  Unfortunately you cannot see it, but I covered both the front and back covers (on the outside) with muslin to give it more texture.  I then painted the muslin with the black gesso.  I made a paper collage using various pieces of the paper that you see under the frame.  I placed a small doilie coming out from the right side of the paper collage.   Added flowers, wood key, wood butterfly and greenery.


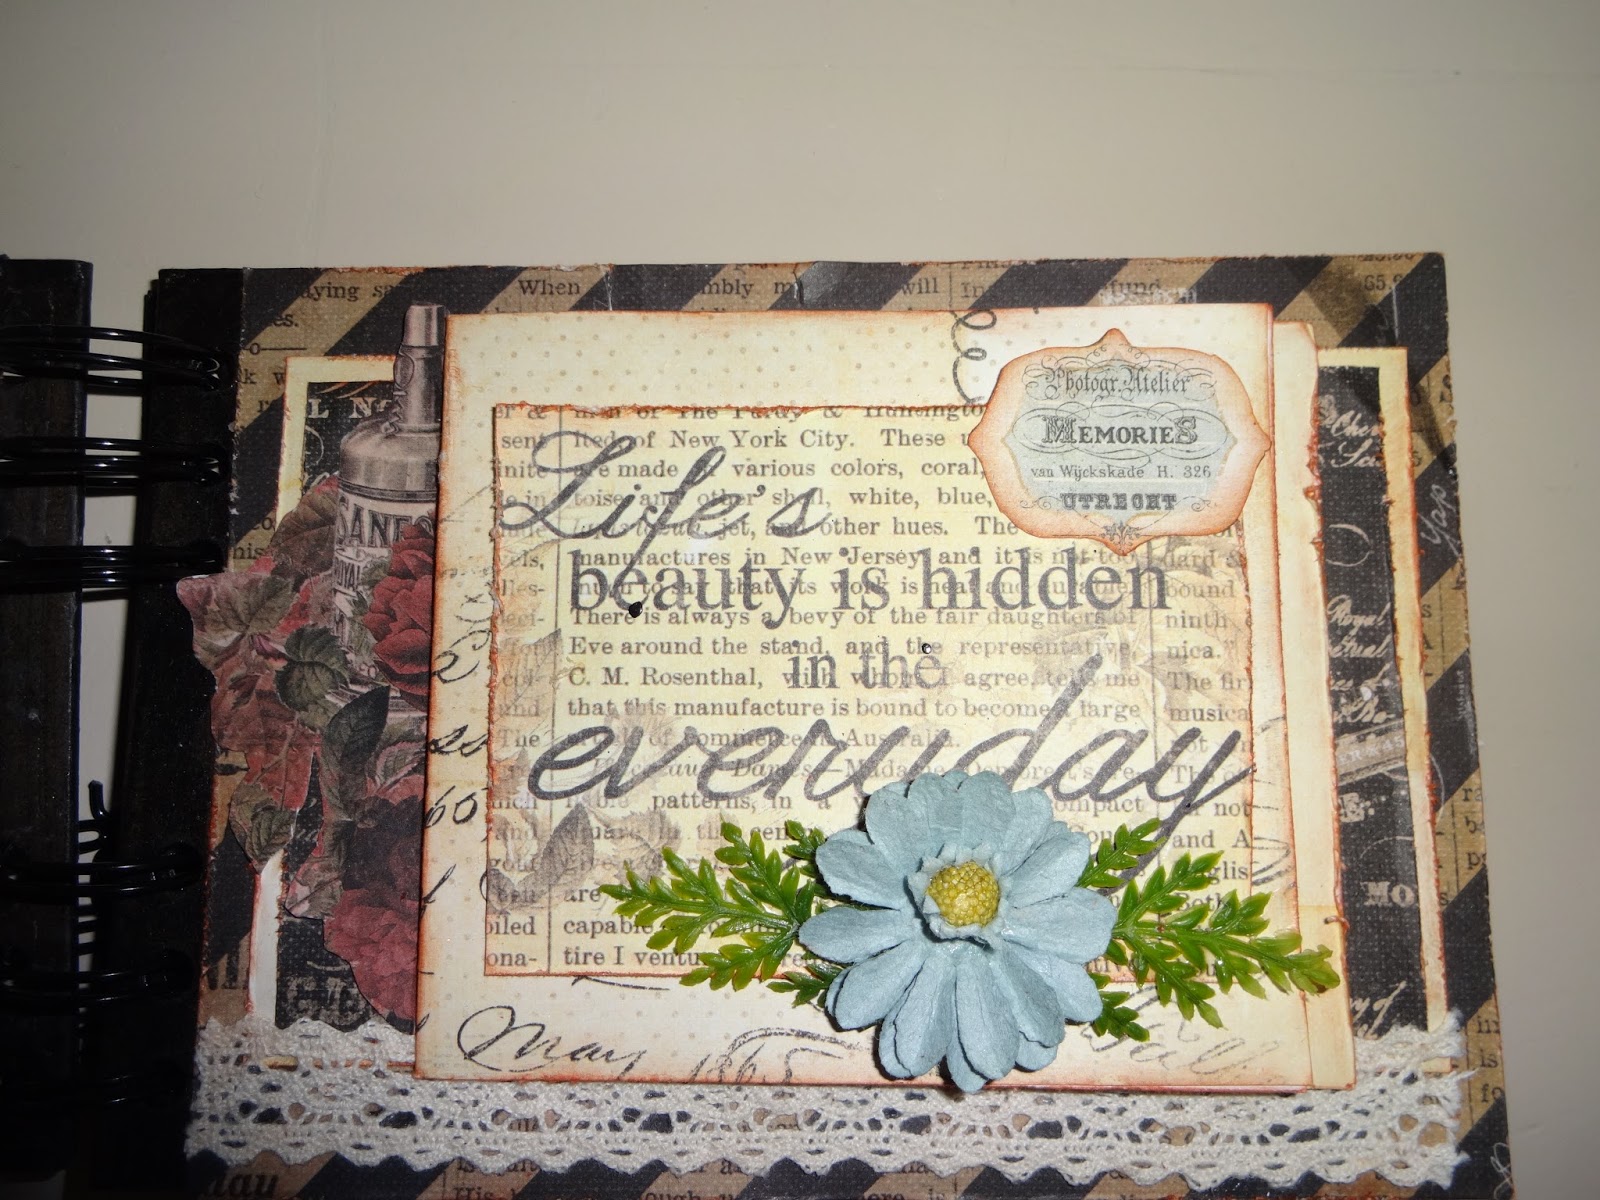
The inside of the front cover is next.  The centre section I adhered with pop dots to give it a 3-D look.  Added a metal corner and metal flower to the bottom left and a metal circle with flower, greenery and a small heart made from polymer clay.  I love using polymer clay and making embellishments with it.  So I made a lot of different shapes and tucked them away for a rainy day.  I glued glass beads on the surface of the heart.

First Inside Page
This is a fold out page so I can place my pictures inside.
There is a paper piece on the left side of the centre fold out section.  I fussy cut this from one of  the paper pieces.


Back of First Page
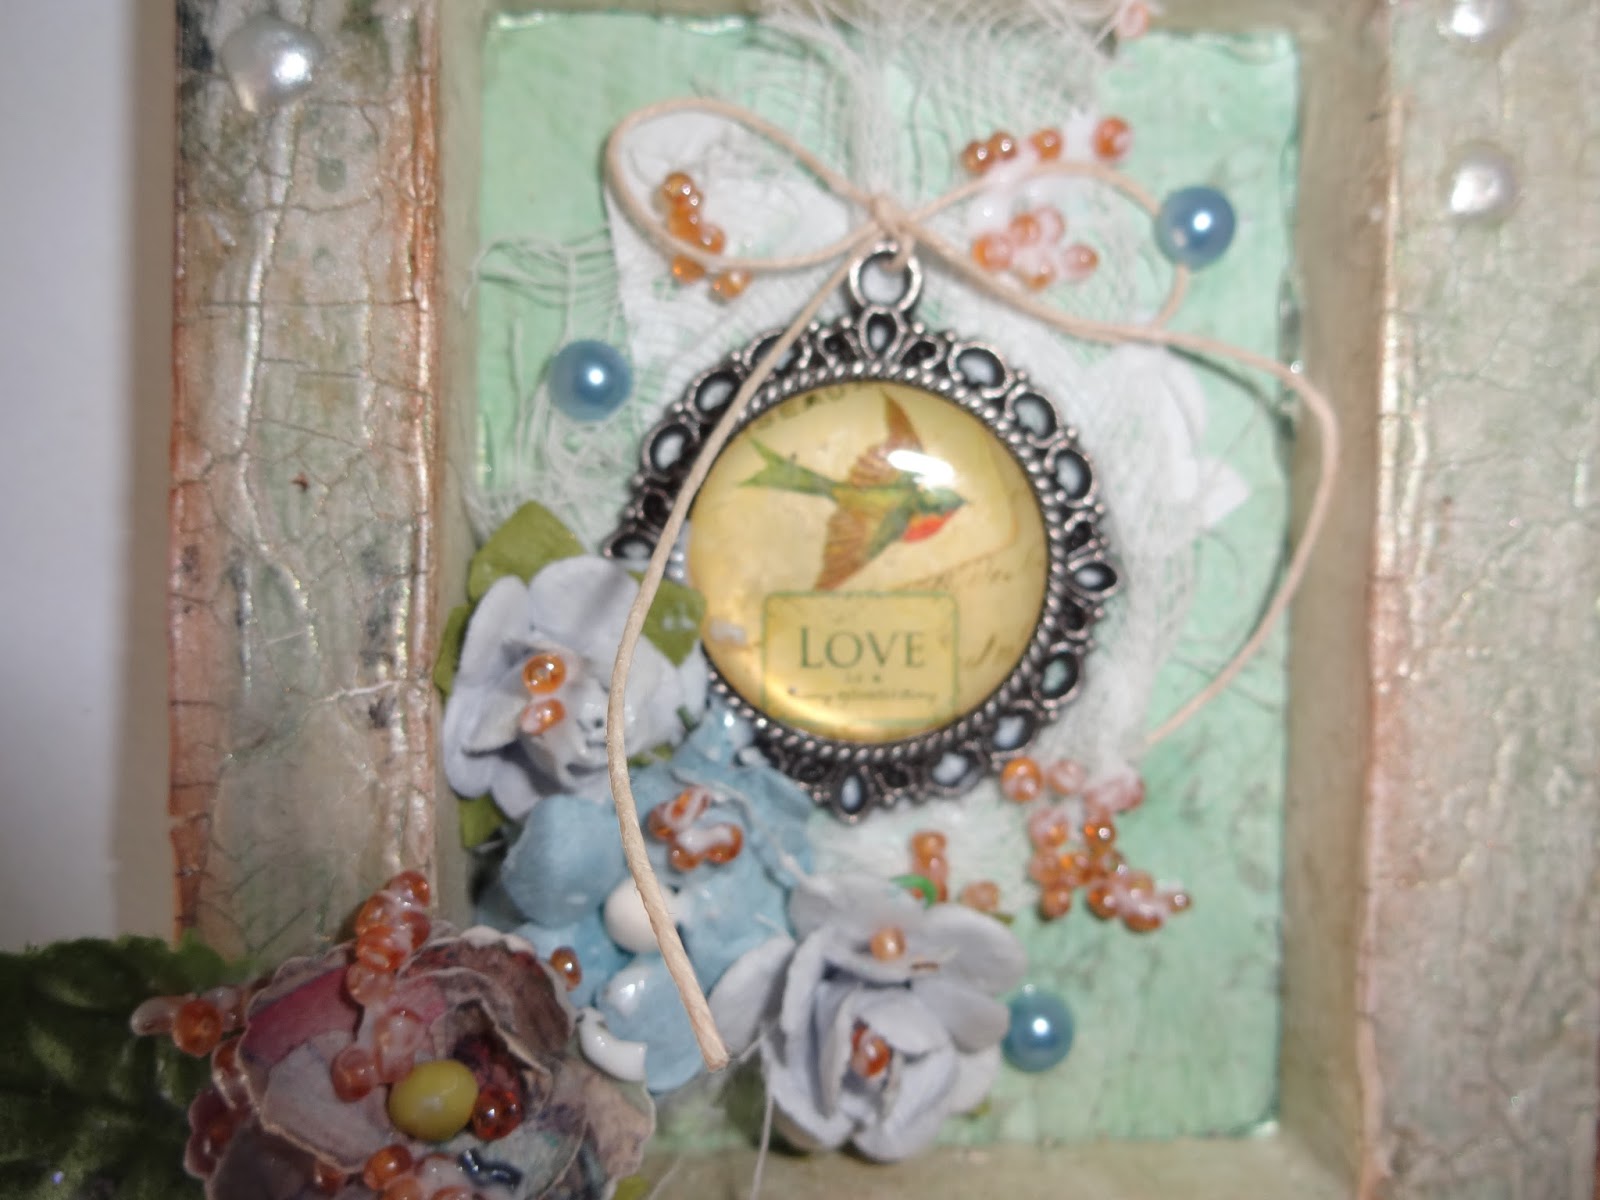
This I kept simple and added a small metal decorative frame with a flower, die cut lattice piece and a loopy bow.  In the centre of the frame I placed a large sparkly gem.


Front of Second Page
Again, kept it simple.  I fussy cut a flower section, added a small piece of the die cut lattice, a bit of cheesecloth under the flower.


Back of Second Page
This is another fold out page.  I can add 4 pictures to the fold out section.
To make the fold out - score 1/4" in from the left side of your first piece of paper.  Fold it then wrap the fold around to the back of your second piece of paper and secure the 1/4" part only.  Do the same with the second piece of paper onto the third piece of paper.  The entire third piece of paper will be adhered down to the page.


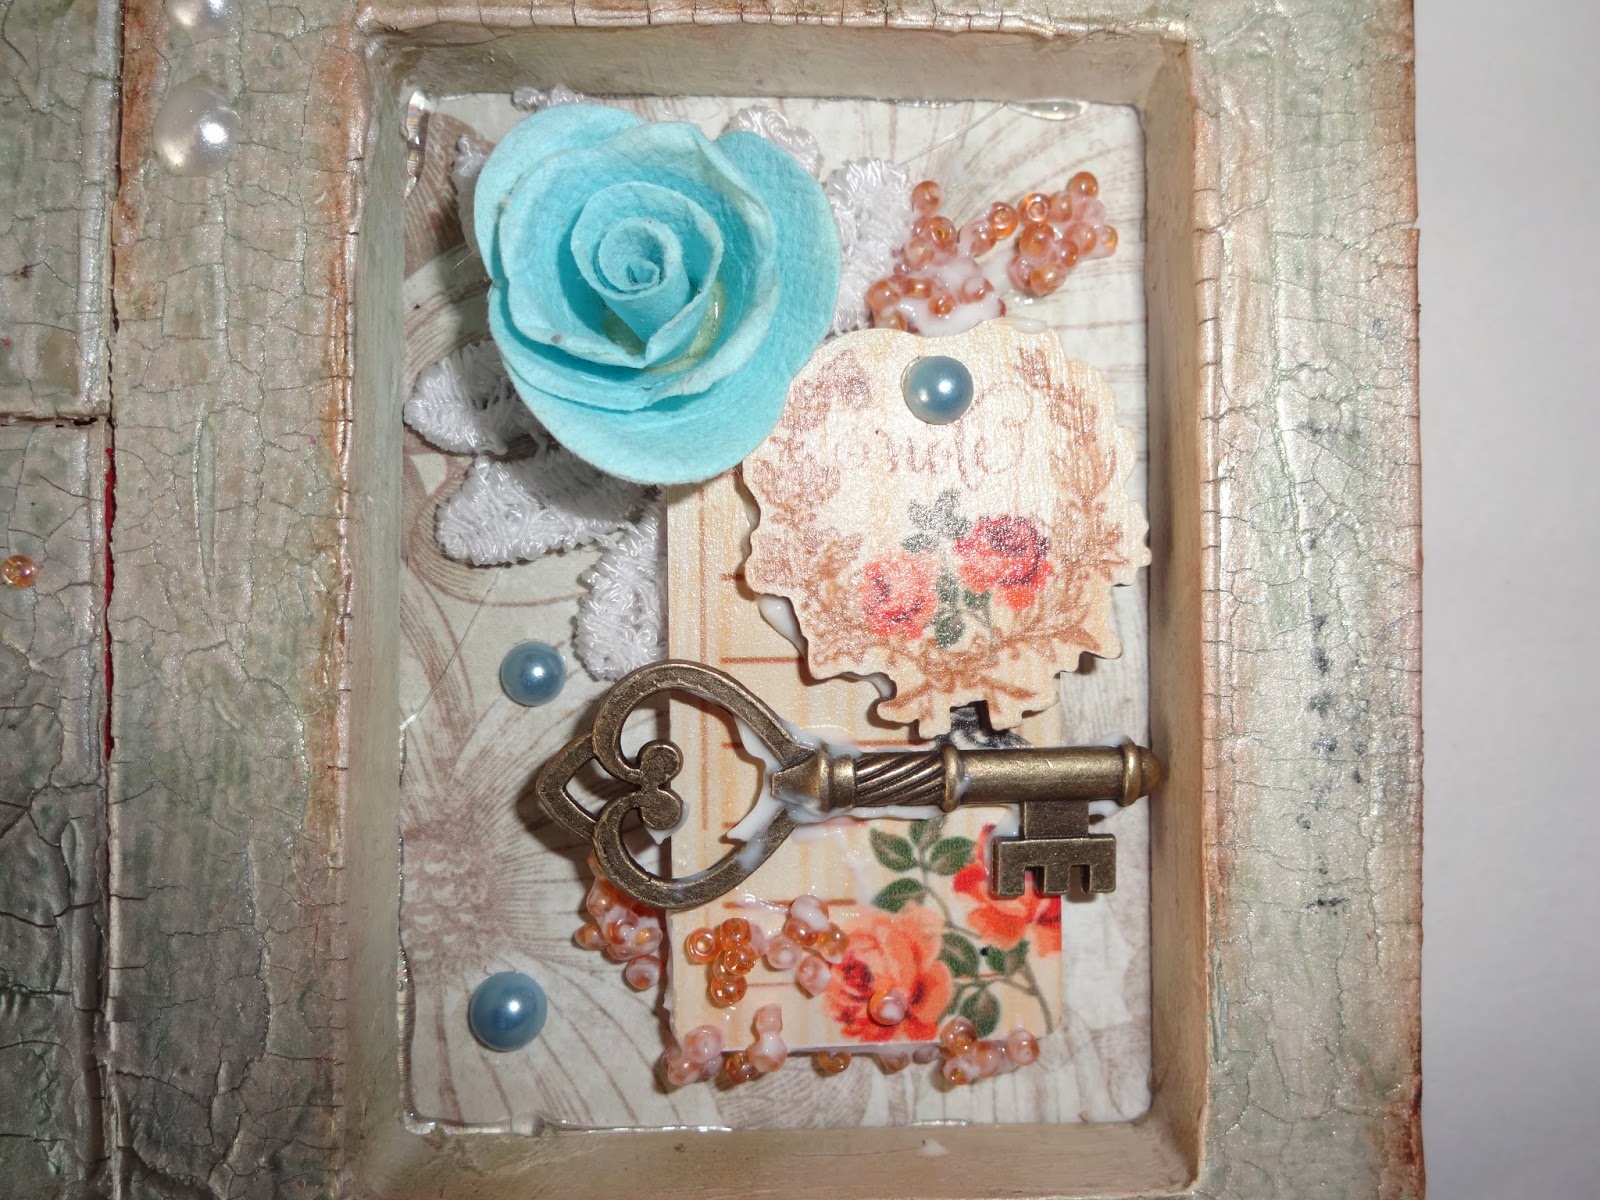
Here is a look at the fold out section.

And lastly, the inside of the back cover.

I am so glad I kept my scraps from this paper.  It is one of my favourites.  
This album is a great gift idea for someone.
Until next time,
this is Donna wishing you a safe and happy weekend.
HAPPY SCRAPPING!!!!
"Before credit cards, we always knew exactly how much we were broke."
Have a great day.


Friday, April 08, 2016

Working With Polymer Clay

Hello everyone!!
I am heading out on vacation tomorrow so I thought I would share with you a project I did using polymer clay.  I chose a 4 x 6 picture frame and created a floral design using polymer clay.  It was not that difficult to do, so I don't want you to think that I spent hours making it.
This is the completed project.

This is what you will need:  polymer clay or sculpey clay, picture frame, a solid piece for the backing (I removed and used the back of the frame), exacto knife, parchment paper, black paint or gesso, a rolling pin or brayer,  ruler and pencil, and cookie cutters or fondant cutters.


I took a piece of parchment paper and with a ruler and pencil I marked out a 4 x 6 rectangle.  I then rolled out a piece of the clay, very thinly, directly onto the parchment paper and covering the traced out rectangle going over the pencil lines.  Above you can see the start of covering the traced out section.  When I had the parchment paper section covered, I carefully turned the piece over and with an exacto knife and ruler I cut out the section along the pencil lines which you can see through the paper, cutting it through the clay.  I turned it back over and left the parchment paper on the clay.  With a stamp which had a diamond pattern on it. I stamped the entire surface to get some texture.
Now, the fun part.  For the flowers, try to keep the clay rolled out thinly.   With the lighter green clay, I pulled off small pieces and rolled it in my hands to make a thin strip which is the vine base.  I gently pressed them onto the background piece.  I then made my flowers using small fondant cutters:  purple flowers using a very small flower cutter and the leaves using a very small leaf cutter.  The yellow flowers are actually cut using the leaf cutter and arranging them as a flower.  The pink flower, I made by hand by cutting out circles and shaping them until I had them how I wanted  (it acually looks like a lily).  With blue clay I took very small pieces and rolled them into a tiny ball which I placed here and there around the vine. 


 Using the ball end of a tool used for quilling, I pressed onto the blue balls of clay to make a centre.  I also put some very small balls of the clay in the centres of the purple and yellow flowers and for the leaves I scored some vein lines just on the surface.  I then took the same quilling tool and pressed onto the background in the diamond sections surrounding the vine.  Gently press each flower piece onto the vine and the background.   Now you will place the entire piece gently onto a cookie sheet, keeping the parchment paper on the back, and bake for 15-20 minutes at 250 degrees.  Believe it or not the flowers and vine will bake securely onto the background piece.  
When the piece was baked, I carefully removed the parchment paper and adhered the piece to the backing using a strong adhesive.
Lastly, and this is optional, I took black gesso and watered it down with water so I had a very thin black wash.  Using a paint brush I brushed the wash onto the entire piece in small sections and immediately wiped it back with a baby wipe or a wet paper towel.  I only wanted to accent the flowers and vine lightly.  When the wash was dry, I lightly dusted some perfect pearls (the pearl colour) around the vine and flowers to sparkle it up.  Put it in your frame and you are done. 
And there you have it. 
I can't wait to do a larger one in a larger frame or on a canvas. 
Below is a picture of the project without the black wash which is bright and colourful.


I hope you enjoyed this tutorial.  It really is easy to do.  This is my first attempt at this, so if I can do it you can do it.  
Until next time,
this is Donna hoping you stay safe and happy.
"HAPPY CRAFTING"
"Shoot for the moon.  Even if you miss, you'll land among the stars."

Thursday, March 31, 2016

"Finnabair" Inspired Canvas

Good morning everyone.
Today I would like to share with you, as promised, an 8 x 10 canvas that I created in the Finnabair style.  I've been wanting to do something like this for sometime but wasn't sure what to do exactly.  So I pulled out my canvas, black gesso, many, many wood embellishments from my stash and some metal pieces.  I decided to layer the embellishments and keep on layering them until I had the look I wanted.  Below is the finished canvas.

  
To start with, I applied modeling paste using a gear stencil from Crafter's Workshop.  When that was dry I applied a good coat of black gesso over the entire surface of the canvas.
I then cut pieces, in varying lengths, from pieces of chipboard borders that I had in my stash and adhered them to the canvas to give me a base.  I then painted the strips with black gesso.


From there I selected different wood pieces (gears, circles, etc.) and adhered them on top of the strips.  I tucked them under and on top of each other.  I had one very large gear that I cut into pieces and added them as well.


I added some other elements - buttons, metal gears, a large key.  Then I painted these items in black gesso.  The reason why I painted each layer was to ensure that everything was completely covered with the gesso.


The last layer was a 4" x 5 1/2" wood frame in the centre, with a small resin frame at the upper right corner.  A wood butterfly was next with a wood key and a small flower in the centre.  Again these were painted black.  I added a couple of glass stones in the centres of a couple of gears and at the top of the large key at the bottom and painted them black.


Now it is time for colour.  I layered a lot of colour directly onto the black gesso.  I dry-brushed most of the colours using Finnibair's opal magic paints, pink and turquoise shimmery paints, almost anything I had on hand that was shiny and glossy.  I just went for it and used my imagination.  I did also put white gesso here and there on a lot of the raised areas.  And at the very end I brushed on some gold metallic paint keeping it on the tips of some items as well as painting the glass stones in solid gold.  This really accented everything nicely.  Below is a close-up of the layers so you can see the colours that I used.

I was pleased with the result as this is my very first attempt at this type of canvas.  I hope you will try it.  After all, if you do not like the end result, you can paint the entire surface in black gesso and try again with your colours.  Start with 3 colours and add as you go.
Until next time, this is Donna wishing you a great week and
"HAPPY CRAFTING"
And to all you scrapbooking women, from the man in your life,
"My wife says I never listen to her - at least that's what I think she said."

Thursday, March 24, 2016

Tag Layout

Hello everyone!!!
I don't know about you, but I sometimes have trouble creating a boy's layout.  I love the flowers, bling and all the prettiness you can create for the feminine layouts.  So I decided to come up with something a little different.  Below is a layout that I did for my grandson using tags.  I cut out various tags in different sizes from different papers and layered them across the top of the page and below the pictures.  It was quite easy and it gives a different look to a layout.

I also stamped a border stamp around the outside edge, added a few pieces of ephemera here and there as well as string in some of the tag holes.

Here is another layout that I used for another grandson.  For this one, I created a paper collage using various papers from my scrap box along with a piece of burlap that I used as a paper.  I did add a couple of rustic flowers (oops - couldn't resist) along with some metal pieces.  Again very simple.


I am currently working on a mixed media "Finnibair" inspired canvas.  It will be posted next week and will include a brief tutorial.
Until next time,
"Happy Crafting"
"My husband lets me have all the scrappin' (stampin') supplies I can hide."

Wednesday, March 02, 2016

Travel Picture Album Kit

Hi everyone!!  Here is another album "Kit of the Month"
Today is a new travel album which is available to you for ordering.  The front and back covers are 5" wide x 8" long and the spine is 2" wide.  You will bind the inside pages. You will receive the following items in the kit: papers, background kraft cardstock, burlap, canvas for the cover, chipboard pieces for the cover, tags, wood and metal embellishments, wood buttons, ephemera pieces (could vary from what is shown), cording and of course detailed instructions with pictures of each page.

This is the front cover of the album.

The cover has been covered completely with canvas.  I then did some stencilling and spraying for texture which is optional.  You can decide if you wish to do this and use a stencil of your choosing.
Here are the inside pages.  There are a total of 3 pages inside (front and back makes 6 pages in total).  There are pockets for extra pictures as well as fold out sections on a couple of the pages for even more pictures.  Below is the inside of the front cover and the front of the first page.  The inside front cover has a pocket for extra pictures storage.


Below is the back of the first page which has a pocket to put tickets or items collected on your trip.  There is a fold out section for more pictures on the second page front.


Below is the back of the second page (has a pocket)  and the front of the third page which also has a fold out section for more pictures. 

And lastly the back of the third page (individual picture).  
The inside back cover has a pocket for more pictures.

The cost for the kit is $40.00 Canadian plus a minimal shipping charge.
We can ship to the U.S.  as well.  To order please email the store at orders@thescrapping bug.com.  The album will be posted in our on-line store over the next couple of days and you will be able to order from there as well.  Look for "Trip Album".
Until next time this is Donna wishing you a safe and happy week.
"HAPPY CRAFTING"
"The joy is in the journey, not at the journey's end."

Wednesday, February 24, 2016

A New Sketch and 2 Layouts

Hello everyone!!!  I have a new sketch for you today. It is a Back to the Basics sketch and I have included two layouts following the sketch and using new papers that have arrived at the store.  The first layout is using Echo Park "The Story of My Family" which came in just before Christmas and the other is using Simple Stories "Let's Party" which came in just last week.
First the sketch.  Measurements are included.

The first layout is using the Echo Park paper with brown cardstock for the background.
The wood designed paper is #TSY92002 and the floral paper the same (on back).  The red dotted paper is #92012 and I cut out the word family from the back of this.  The orange word paper is #TSY92006 (behind picture) and I also used the reverse of this for the dotted papers.


I cut and adhered the strip of wood paper across the page, centering it and tucking the circles under the edges as shown.  I cut all the other pieces and distressed and inked the edges of all of them.  I then made my paper collage which I adhered to the page using pop dots as I wanted it to be lifted off the page.   I went into my stash and used a wood frame which I inked and mounted a piece of the word paper in behind.  Added some flowers and a loopy bow.   Next I cut out the word "family" and adhered it to the left side of the frame as shown.  And there you have it.  Very simple.  Here is a closeup of the flowers and frame.


The next layout I used the new Simple Stories paper.  I used #5309 Make A Wish paper, #5308 Hip Hip Hooray, #5304 It's Your Day,  #5306 HB2U as well as the reverse side of these papers.


I again cut the centre strip from the Make A Wish paper, tucked in my circles (which you can punch out from any of the papers).  I again made my paper collage and used pop dots to adhere it down.  I did do some fussy cutting from the papers.  Across the top I cut pieces of  the banners from the Hip Hip Hooray paper and adhered them across the top of the page.  Then from the remainder of the  Make A Wish paper I cut out several stars from the paper, added buttons to the centres of the larger ones and adhered them to the page using pop dots.  The smaller stars I adhered flat.  Now see the cute little boy and girl at the bottom right corner.  I cut them out from the It's Your Day paper.  Couldn't resist.  I also adhered them using pop dots.  I added some stickles to the balloons to give them a bit of a twinkle.  
And there you have it.  Very easy and colourful.  And a closeup.


Again, all these papers are now in stock.  If you order now I will include a copy of the sketch that you can keep for future use.  Until next time,
This is Donna wishing you a safe and happy week.
HAPPY CRAFTING
"A best friend knows exactly what you are saying, even if you're not talking."

Sunday, January 31, 2016

Picture Frame Wall Hanging

Hello again!!  Today I am going to share with you a project that I created using picture frames.
I had purchased  3 1/2" x 4 1/2" picture frames that were in a sale bin for only 50 cents each.  Well, guess what I did.  Since I can't turn down a good deal, I purchased several of them.  Of course I didn't know what I was going to do with them, but being a craft person, I figured I would use them someday.  So I created a wall hanging by gluing 4 of the frames together.  My inspiration for this project came from a workshop with Vicki Boutin at the Prima Art Venture.  We used wood boxes.  I decided to use the frames instead.
Here is the completed project.

These are the frames below.


The first thing I did was to remove the stand and the white clasps from the back.  I kept the actual backs of the frames.  I then painted the entire frames with white gesso as well as the backings.   2 coats was necessary because of the colours of the frames.  I wanted lots of texture on the surface of the frames so I applied a coat of white crackle medium from Prima.  Let this dry completely and watch the cracks form.


Next, I selected two spray colours "tea stain" and "glistening waves" from Prima.  I did the tea stain first, and then the glistening waves next.

After everything was dry, I decided on my frame placement and then glued them together with a strong glue.  You can use a heat gun, but make sure that the glue is very hot.  My final placement is different then shown above.  I changed my mind when I went to glue them together which you can see with the completed project.   Next, I selected patterned papers and adhered them to the backing piece of each frame.  I then glued the backings into the frames from the back.

Then I went to my many containers of "stuff" and decorated the inside of the frames.  I used wood embellishments, metal, flowers, and ephemera pieces which I layered several into the bottom left frame.  I added a flower vine onto the left side as you can see.  I also added some glass beads here and there in each frame.  When completely done, I inked the outer edges of the frames with a brown archival ink and added some dots of dimensional pearls. You could also place a very small picture in one of the frames.
Here is a closeup of the inside of the frames.


I am going to do this again but I plan on using  frames in different sizes and more of them.  I will let you know how it works out.  I hope you will give this a try.
Until next time,
This is Donna wishing you a happy and safe week.
"Happy crafting"
"I'm not going to vacuum until they make a model that you can ride on."

Friday, January 15, 2016

New Technique on Canvas

Hello everyone!!!  I am back from California where I attended the Prima "Art Venture".  It was excellent and the workshops were amazing.  Unfortunately, I cannot post the items that we did because of the designer wishes, but each workshop was wonderful and very informative.  We worked with Frank Garcia, Anna Debrowska (Finnibair), Vicki Boutin, John Petersen, Sharon Laakonen, and Sandra Evertson.  A very talented group of people.
I am going to share with you a technique that I learned in the Sharon Laakonen class. I have never done this technique before.  I got to use the new Prima watercolour pastel crayons to create a background on their new watercolour canvases.  It turned out to be easy and fun.  Since I can't show you the actual project we did I did another one at home to show you the technique.
Below is the finished canvas.


To start, you will need the items shown below:  9 x 12 canvas or the size you want, watercolor paper (140 lb. weight is best), a soft brush, watercolor pastel crayons, something for mixing, and a water sprayer.
Since I did not have a watercolour paper canvas, I used a regular 9 x 12 canvas and covered it with a piece of watercolour paper.  You can buy the paper in a 9 x 12 size, however, I found that I had to trim off a slight amount on the edges.  I adhered this securely to the canvas.


I used 4 different pastel colours, vermilion, magenta, dark ochre and dark brown.  Starting with the lightest colour (vermilion) I scribbled some into the a plastic lid, wet it with water, then mixed it with a wet soft paint brush.  The right side of the lid below is the mixed side.  Mix the complete scribble.  They mix very well.


I next lightly sprayed the surface of the paper on the canvas.  Then I applied the vermillion colour in a circular motion.  Keep mixing and adding the colour until the surface of the canvas is covered.  With the surface of the canvas still wet, (you do not have to wash out your mixing item after each colour)  mix the next colour which is the magenta in the lid, and apply it over the first colour but not to completely cover it.  You will mix and blend the second colour here and there making sure that you mist lightly with water.  You want the first colour to show.  Do not press too hard with your brush.  Water to paper can cause pilling which is small balls of the paper forming.  That is why I used a 140 lb. weight paper which is heavier.  I had no pilling at all.  You will do the same with the third colour (dark ochre) again here and there making sure that you spray more water onto the surface of the paper, blending as you go.  I did not use a lot of this colour.  But you can if you want, just as long as you use a light spray of water.
This is a closeup after the third colour was applied.

I let the complete surface dry (you can use a hair dryer for faster drying time).  I then took the dark brown pastel, in the same way as the others and applied this around the entire outer edges blending it toward the centre but not all the way.  The finished canvas surface is below.

To finish the project, I mixed a pink mica powder into modeling paste which I placed here and there with a stencil.  Next I stamped with brown ink a small acrylic stamp to give more texture.  I then made a paper collage that you can see below and adhered this to the canvas in the centre.

My next item is the "diva" which I made using a new Julie Nutting stamp.
I first stamped the girl onto a piece of vanilla cardstock and cut it out.  This acts as the skin tone for the face, arms and legs as well as a base for the pieces that you will create next.   Next I stamped the girl onto a piece of patterned paper.  I then cut out the dress only and adhered it to the cardstock girl onto the dress area.  Next I stamped just the head onto yellow cardstock and cut out the hair which I adhered to the head of the cardstock girl.  I added dimensional pearls to the head band and the waist band, black stickles to the shoes, and adhered a ruffled piece of lace around the bottom of the skirt.


I added the "diva" to the canvas using pop dots, added a chipboard frame embossed with white embossing powder and a piece of patterned paper adhered to the back of the frame.  Flowers were next, butterflies and a bit of bling to complete the canvas.  I am hooked on yet another technique.
I hope you enjoyed this picture tutorial and will give it a try.
Until next time,
this is Donna wishing a wonderful day.
"Don't judge a woman until you've walked a mile in her shoes.  That way, when you say something about her, you're a mile away and you have her shoes."